
2. Terraform Cloud/EP driver
2.1. Introduction
2.3. Terraform Cloud/EP driver procedure
2.3.1. Terraform Cloud/EP workflow
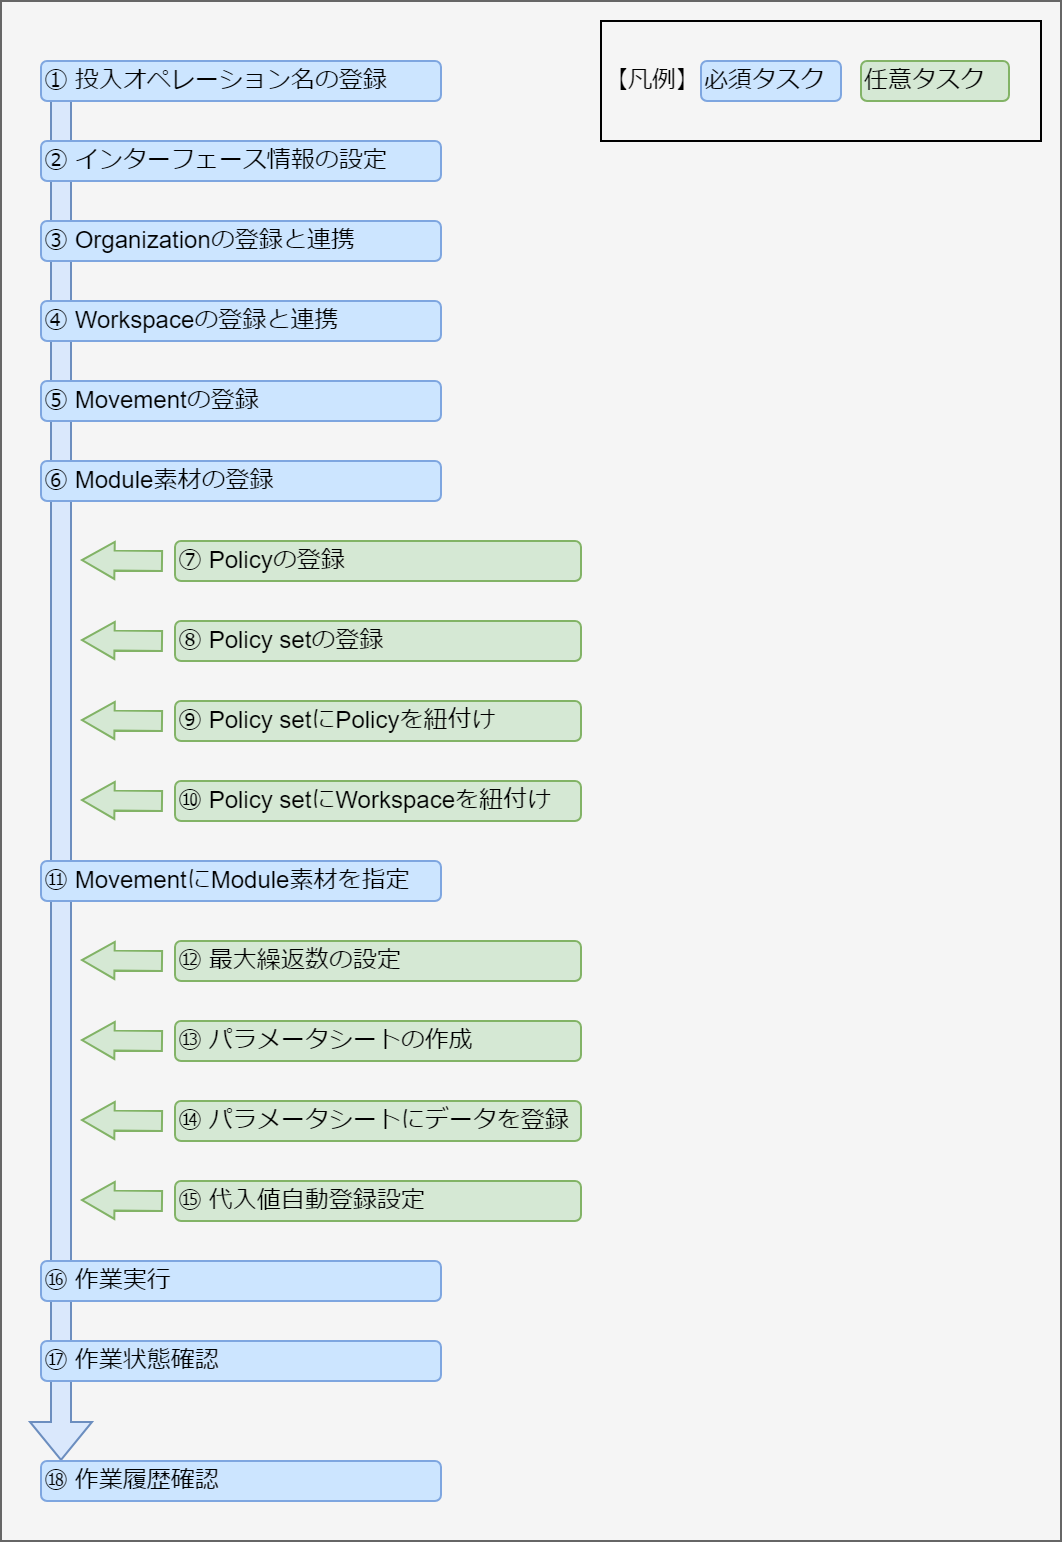
Workflow details and references
- Register Input operation nameFrom the basic console's Operation list menu, register an input operation name.For more information, see Operation list.
- Register Interface informationConfigure information for the execution.For more information, see Interface information.
- Register and link OrganizationRegister inforamtion for the Terraform Organization and link with Terraform.For information, see Organization management
- Register and link WorkspaceRegister information for the Terraform workspace.For more information, see Workspace management.
- Register Module filesRegister a Module file that will be executed..For more information, see Module file collection.
- **Register Policy (if required) **Register a Policy file that will execute Policy check before executing the operation.For more information, see Policy management.
- **Register Policy set (if required) **Register a Policy set for linking with the Workspace that applies the Policy.For more information, see Policy Set management.
- **Link Policy set with Policy (if required) **Register a link between the Policy set and the Policy.For more information, see Policy set-Policy link.
- **Link Policy set with Workspace (if required) **Register a link between the Policy set and the Workspace.For more information, see PolicySet-Workspace list.
- Specify Module file to MovementConfigure the registered module file to the registered Movement.For more information, see Movement-Module link.
- Configure maximum cycles (if required)Configure maximum amount of cycles for the Member variable.For more information, see Variable nest management.
- Create Parameter sheet (if required)From the Parameter sheet creation's "Define/Create parameter sheets" menu, create a parameter sheet where the user can register data that will be used to configure the target server.For more information, see Parameter sheet creation function.
- Register data to the Parameter sheet (if required)In the Input menu group, access the Parameter sheet created in the previous step.From there, register data that will be used to configure the target server.For more information, see Parameter sheet creation function.
- Configure substitute value auto registration settings (if required)From the Substitute value auto registration settings menu, link the all the operation items and setting values registered to the Parameter sheet and the Movement variables.For more information, see Substitute value auto registration settings.
- Execute operationFrom the Execution menu, select the previously created Movement and Input operation and execute them.For more information, see Execute.
- Confirm operation statusIn the Execution status confirmation menu, the status of all previously executed operations will be updated in realtime. Users can also monitor error logs and execution logs as well as stop them with an emergency stop.For more information, see Check operation status.
- Confirm operation historyIn the Execution management page, users can check the history of all previously executed operations.For more information, see Execution management.
2.4. Apply Policy
2.4.1. Linking Policy/PolicySet/Workspace

2.5. Function
2.5.1. Basic console
Operation list
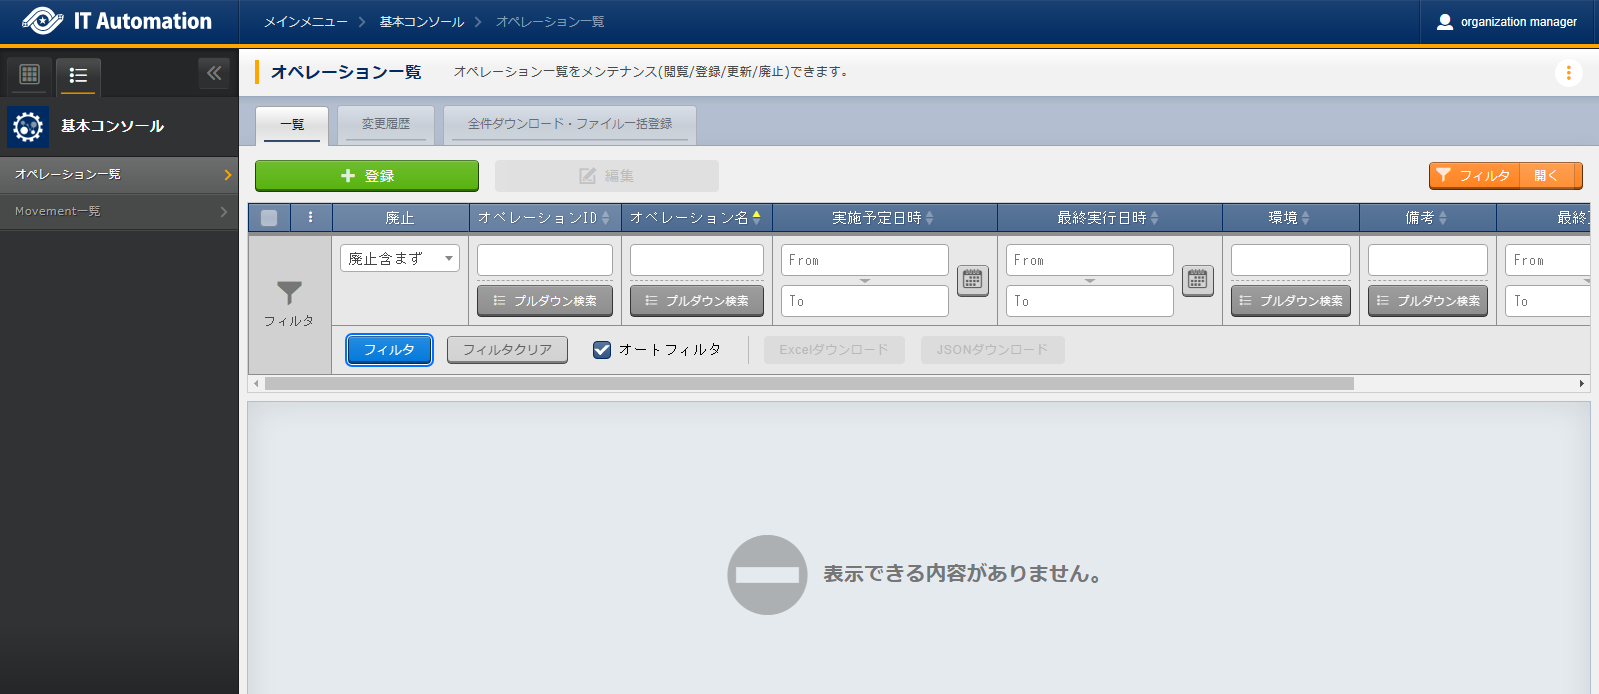
図 2.34 Submenu (Operation list)
2.5.2. Terraform Cloud/EP menu
Interface information
- In the menu, users can maintain (view/edit) execution information.Users must have a UserToken issued from the Terraform and a Terraform Hostname.
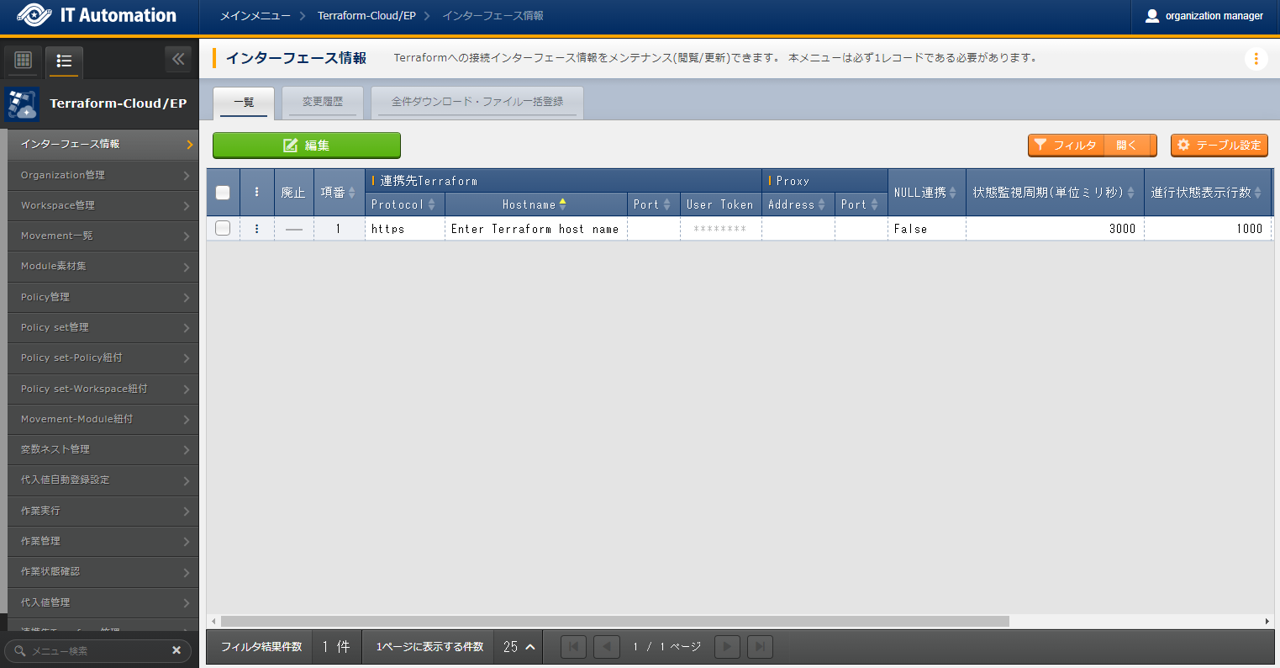
図 2.35 Submenu (Interface information)
- Press the Edit button to register Interface information.
)
図 2.36 Registration page (Interface information)
- The items in the Interface information menu are as following.If there is no Interface information registered, the operation execution will meet an unexpected error when multiple records are registered.
Organization management
- In the menu, users can maintain (view/register/update/delete discarded) Organizations used in Terraform.Users can link (register/edit/delete) Organizations registered to ITA to Terraform.
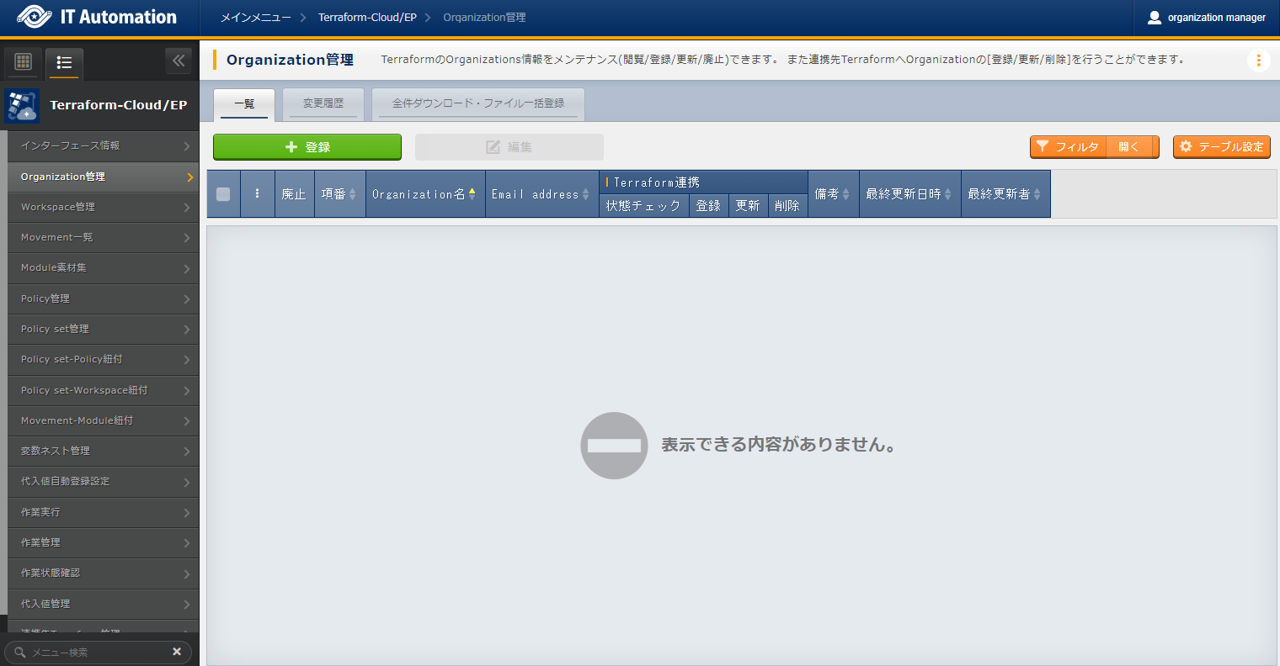
図 2.37 Submenu (Organization management)
- Press the + Register button to register Organization informationn.
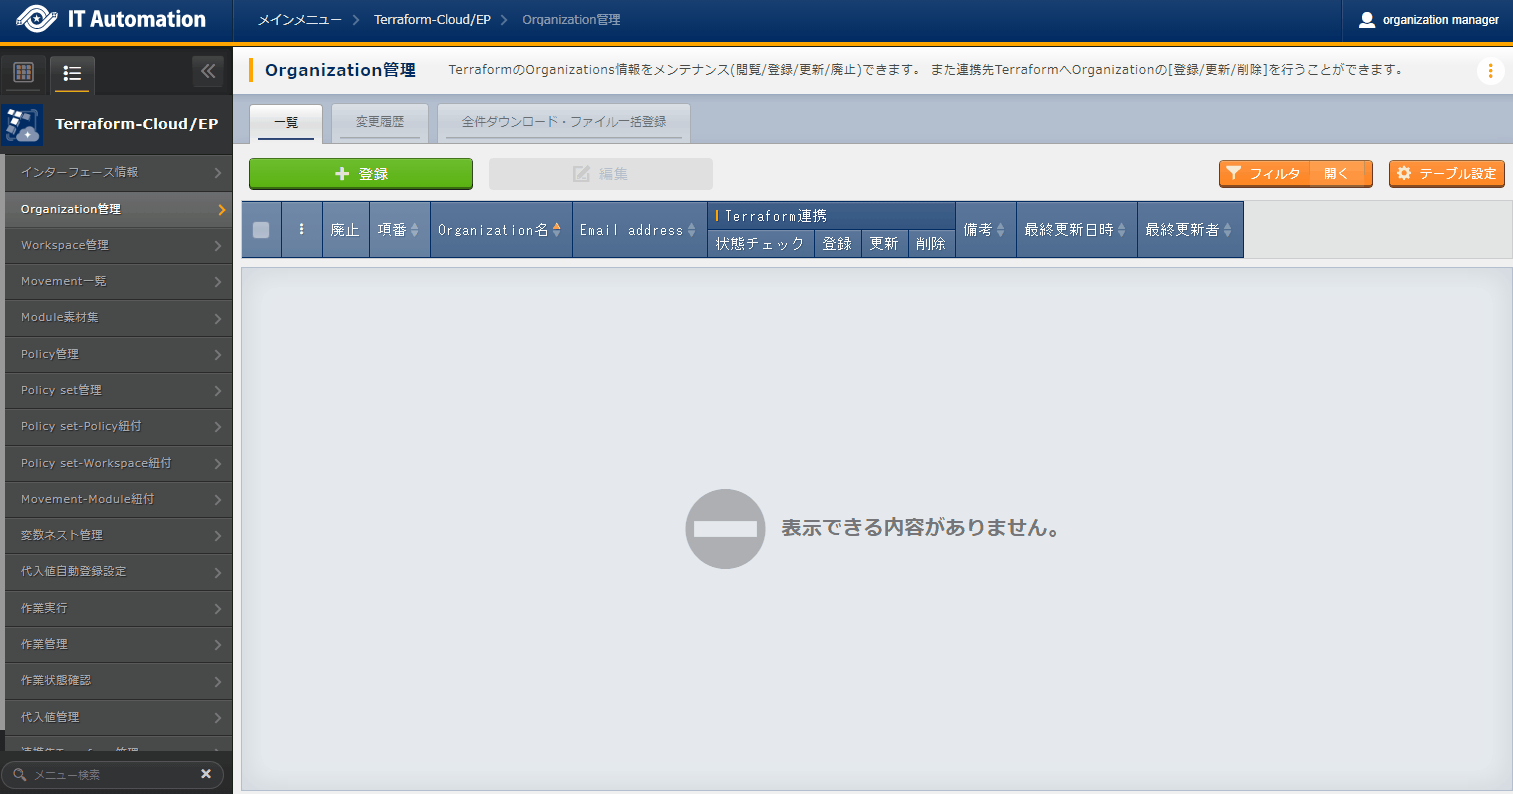
図 2.38 Registration page (Organization management)
- After an Organization is registered, users can click the "Check status" button to check the Link status with the Terraform linked in Interface information.By clicking the "Register", "Edit" or the "Delete" button in the "Terraform link" column group, users register, edit and delete Organizations for the linked TerraformIf an operation is executed while no Organization is linked to Terraform, the execution will end in an unexpected error.If hostname and User Token registered in "6.2.1 Interface Information" are incorrect, the link with Terraform will fail, and the following message will be displayed in the link status:"Failed to connect to Terraform. Check the interface information”.

図 2.39 Terraform link (Organization management)
- The items found in the Organization management menu are as following.
Workspace management
- In the menu, users can maintain (view/register/update/delete discarded) Workspaces used by Terraform.It is also possible to link (register/edit/delete) Workspaces registered to ITA to Terraform as well as delete resources(terraform destroy).

図 2.40 Submenu (Workspace management)
- Press the + Register button to register Workspace information.
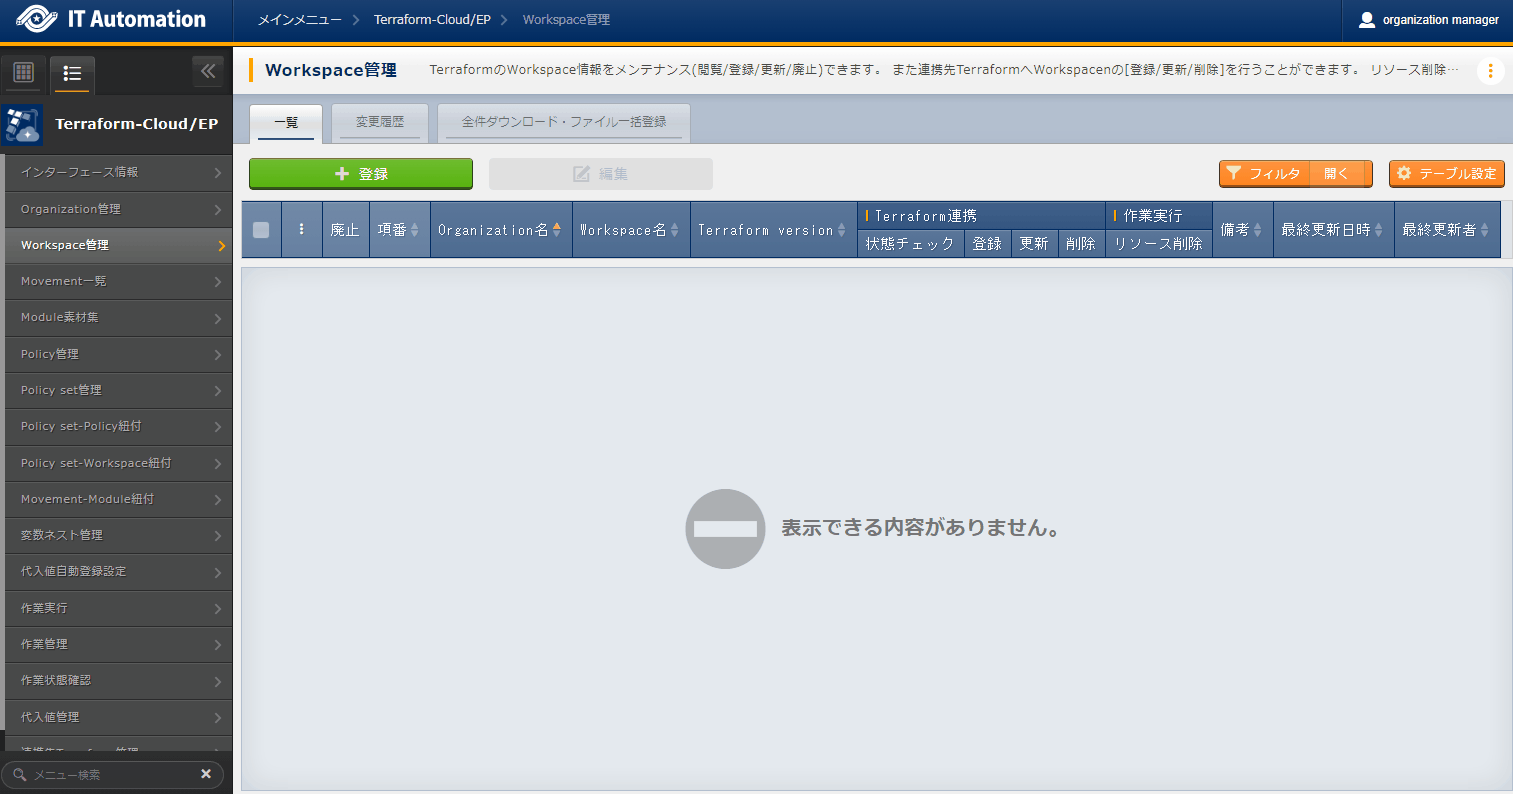
図 2.41 Submenu (Workspace management)
- After an Workspace is registered, users can click the "Check status" button to check the Link status with the Terraform linked in Interface information.By clicking the "Register", "Edit" or the "Delete" button in the "Terraform link" column group, users register, edit and delete Workspaces for the linked TerraformIf an operation is executed while no Workspace is linked to Terraform, the execution will end in an unexpected error.If hostname and User Token registered in "6.2.1 Interface Information" are incorrect, the link with Terraform will fail, and the following message will be displayed in the link status:"Failed to connect to Terraform. Check the interface information”.』The same message will be displayed if the selected Organizatio nis not linked to Terraform.
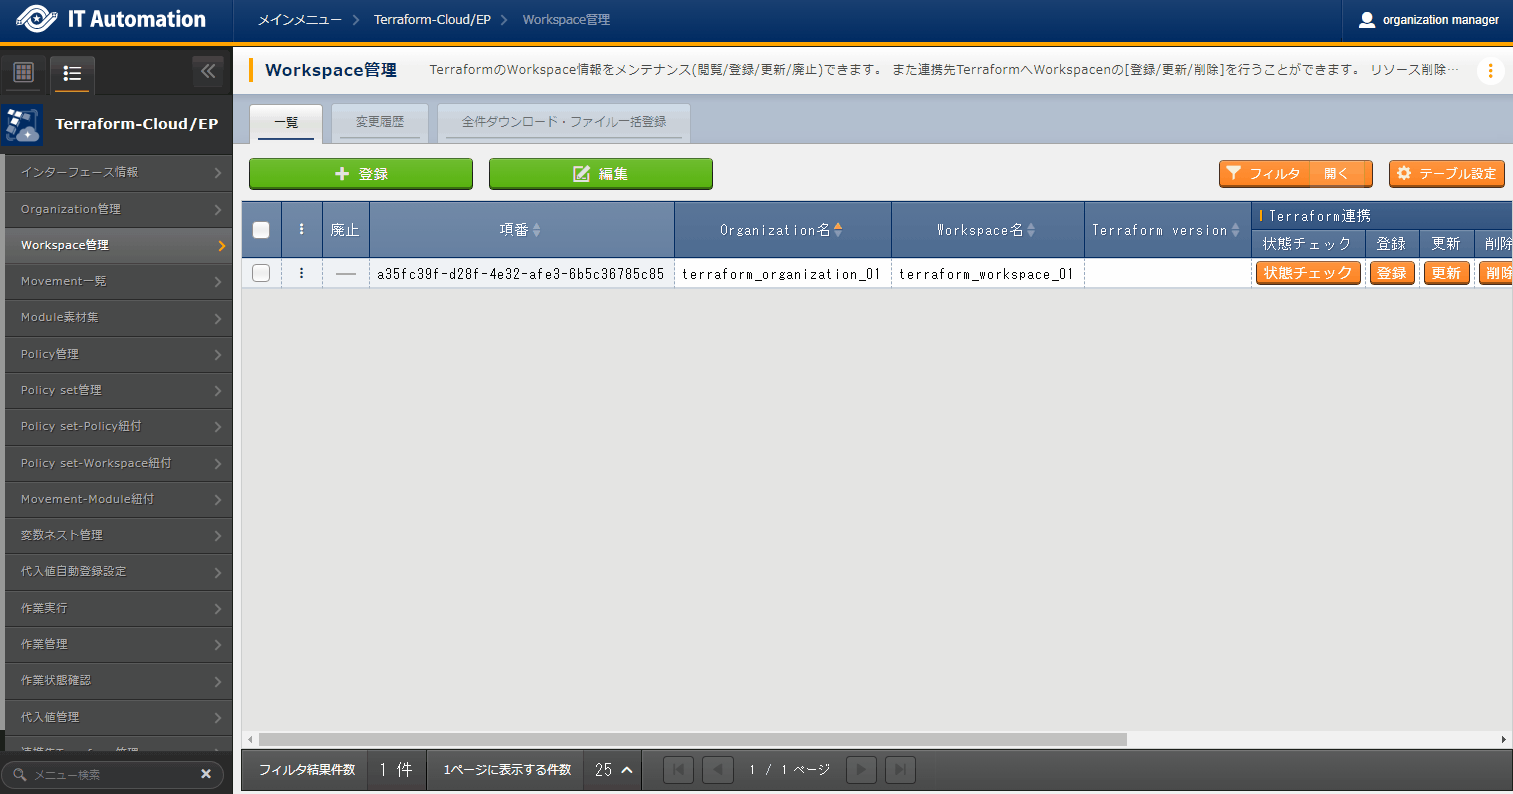
図 2.42 Terraform link (Workspace Management)
- Click the "Delete resource" button moves the user to "Check operation status" where the target workspace will have their resources deleted (terraform destroy).
- The items found in the Workspace management menu are as following.
Movement list
- In the menu, users can maintain (view/register/edit/discard) Movement names.As Movements needs to be linked to the Workspace and Organization as Terraform use information, The user will first have to register a target in Workspace management and Organization management.
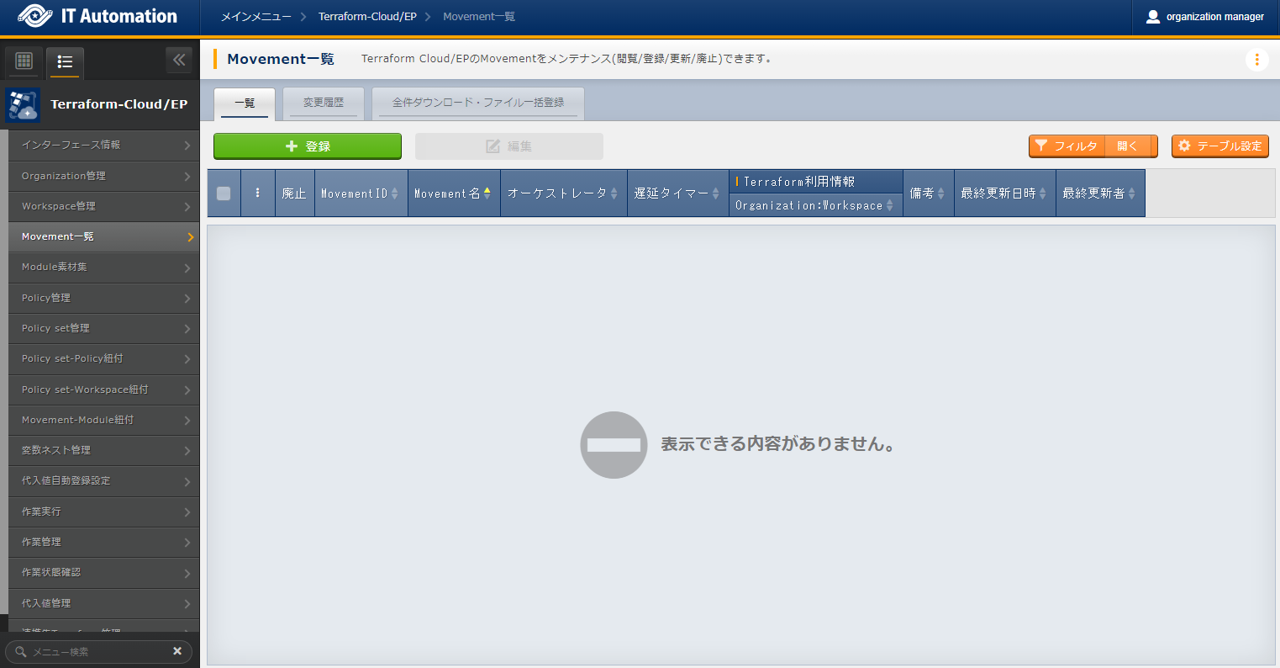
図 2.43 Submenu (Movement list)
- Check the + Register button to register Movement information.
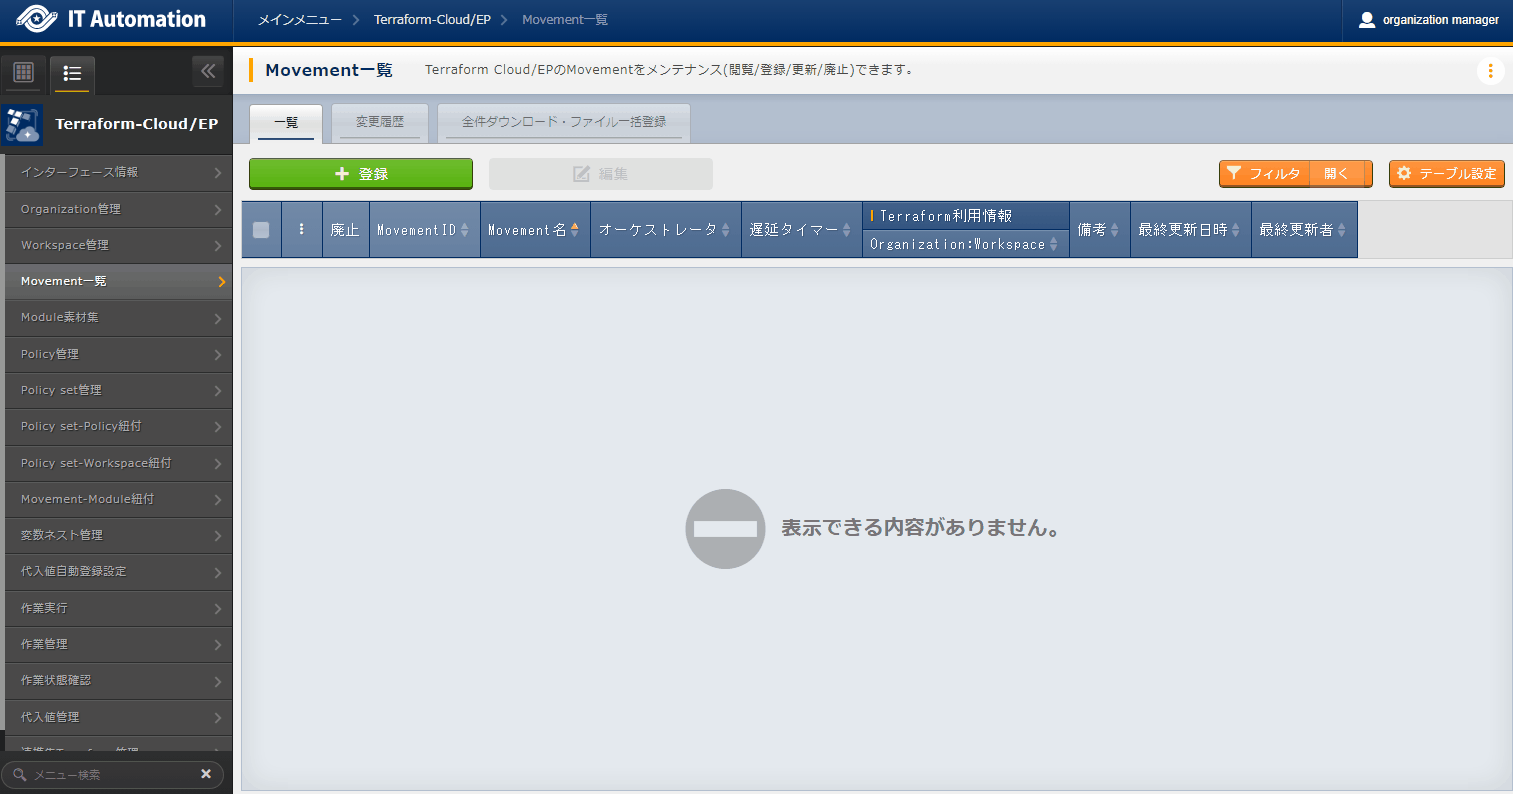
図 2.44 Registration page (Movement list)
- The items found in the Movement list are as following.
Module file collection
- In the menu, users can maintain (view/register/edit/discard) user created modules.For more inforamtion regarding writing Modules, see Describing Module.
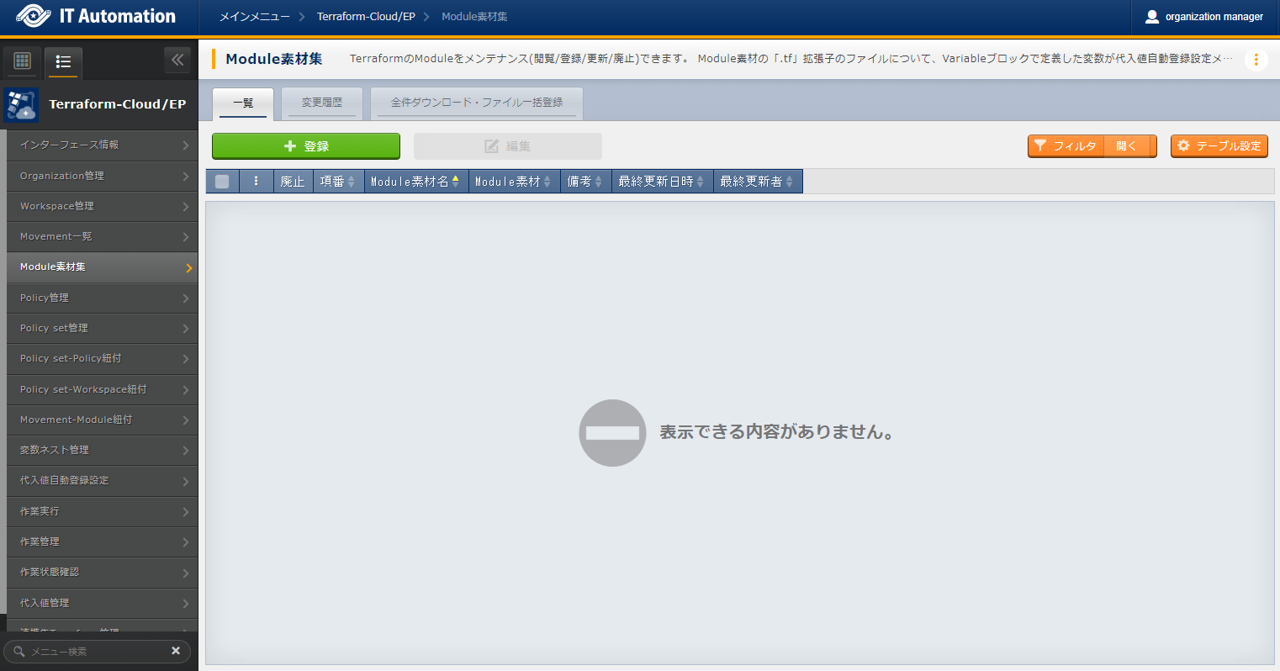
図 2.45 Submenu (Module file collection)
- Press the + Register button to register Movement information.
)
図 2.46 Registration page (Module file collection)
- The items found in the Module file collection menu are as following.
警告
Policy management
- In the menu, users can maintain (view/register/update/delete discarded) user created Policies.For more information writing Modules, see Describing Policy.
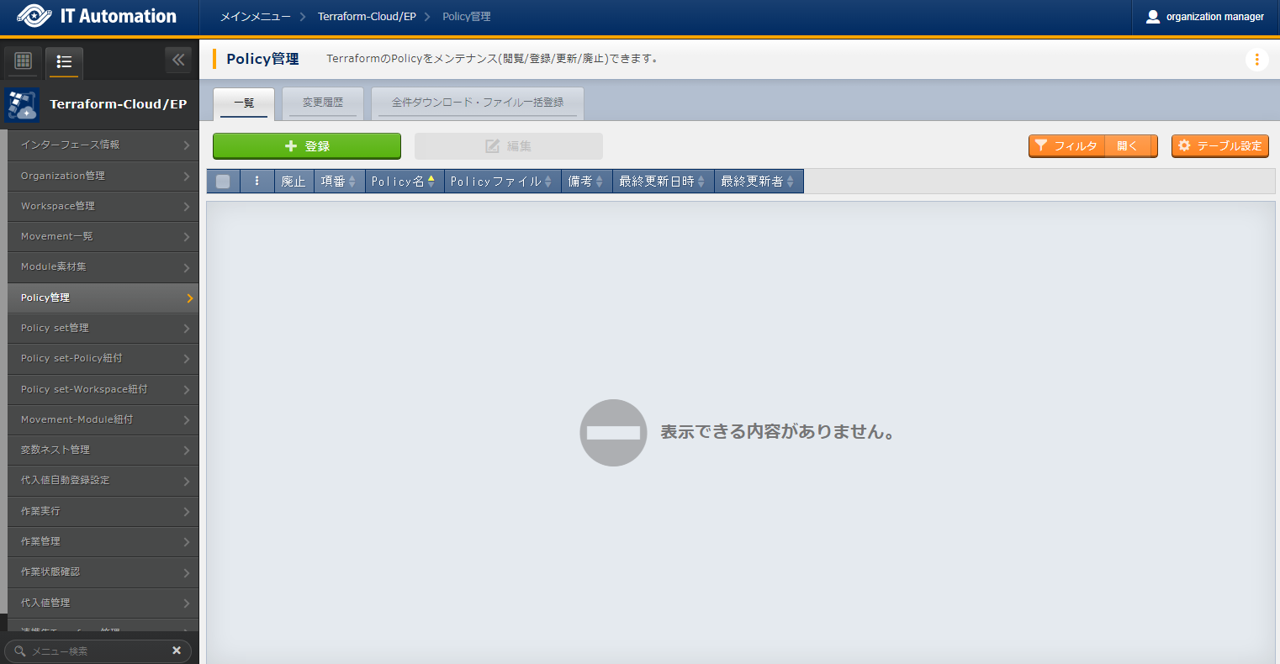
図 2.47 Submenu (Policy management)
- Press the + Register button to register a Policy.
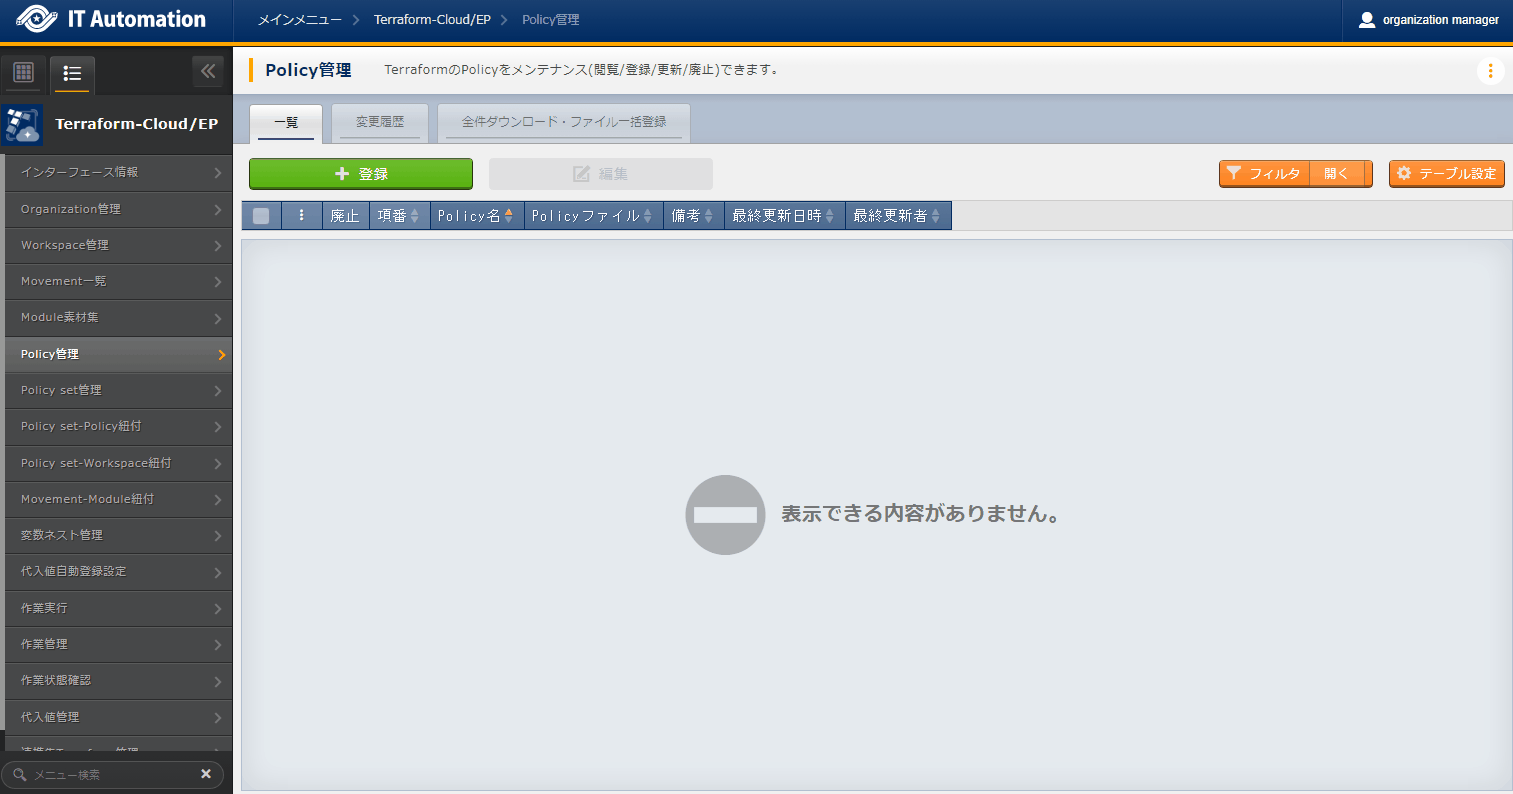
図 2.48 Registration page (Policy management)
- The items found in the Policy management menu are as following.
表 2.56 Registration page Item list (Policy management)¶ Item
Description
Input required
Input method
Restrictions
Policy name
Input a name for the PolicyPolicies can contain half-width alphanumeric charactesr and the following symbols: _ - (Underbar and hyphen).○
Manual
Maximum length 255 bytes
Policy file
Upload a created Policy file.
○
File selection
Maximum size 100 mb
Remarks
Free description field
ー
Manual
Maximum length 4000 bytes
Policy Set management
- In the menu, users can maintain (view/register/update/delete discarded) Policy sets.Policy Sets applies Policies to the Workspace when executed by linking with Policies and Workspaces in "Policy set-Policy link" and "PolicySet-Workspace list".
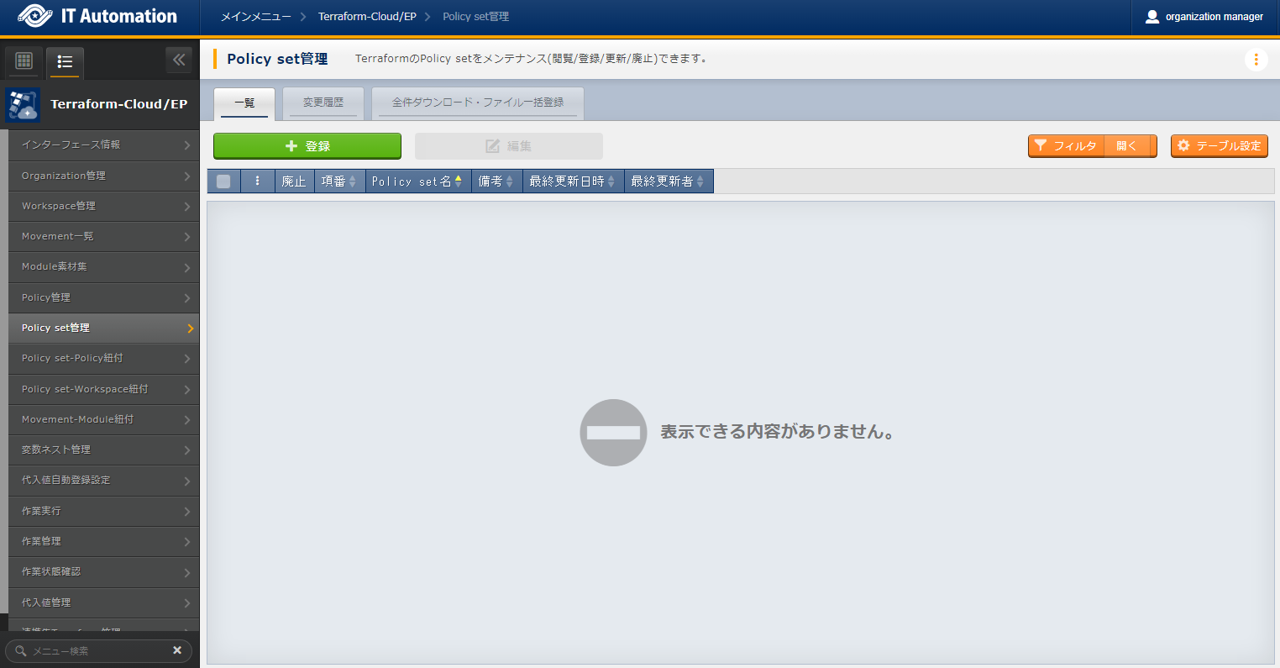
図 2.49 Submenu (Policy set management)
- Press the + Register button to register a Policy set.
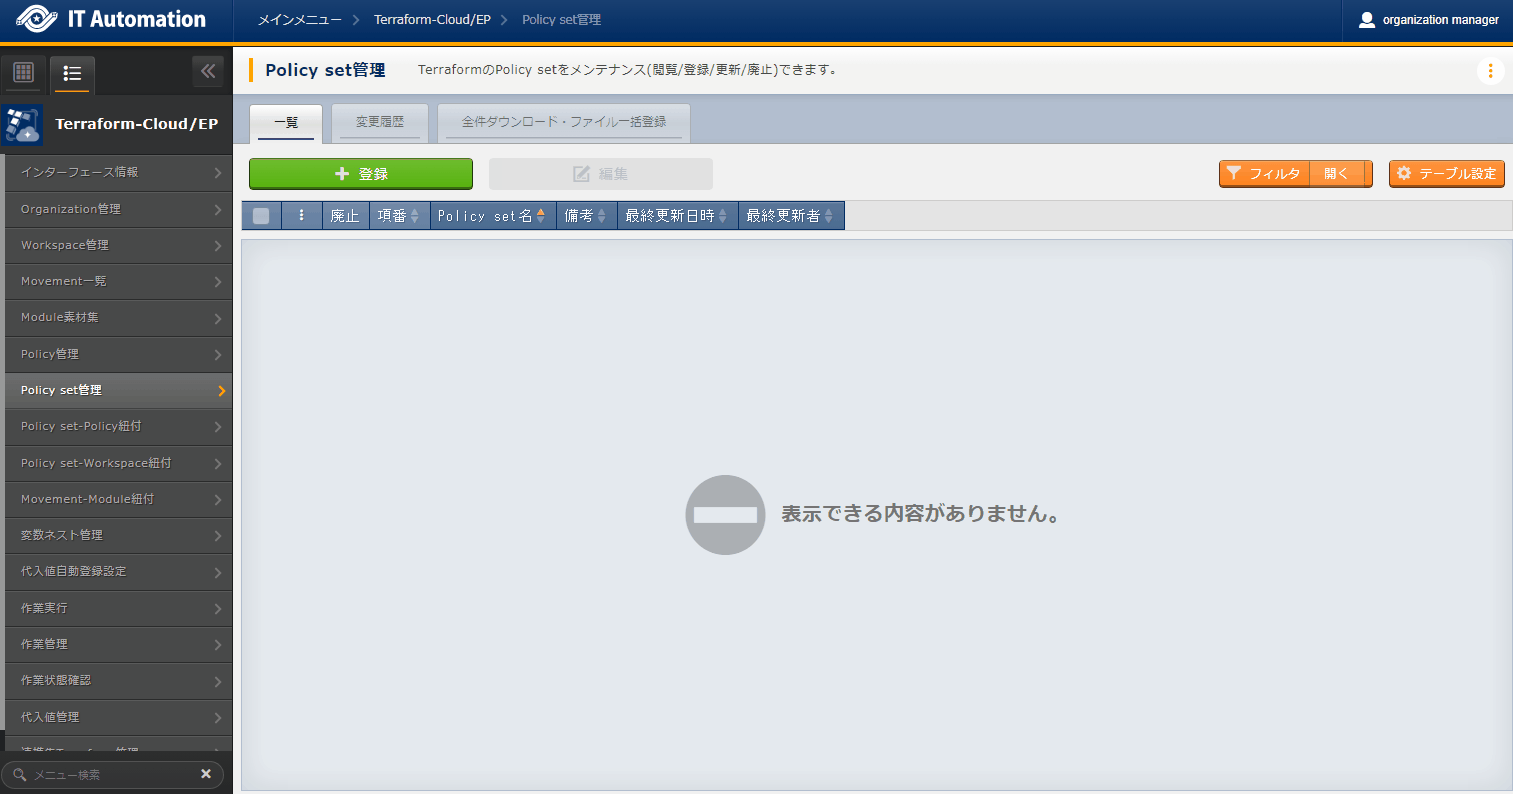
図 2.50 Registration page (Policy set management)
- The items found in the Policy set management menu are as following.
表 2.57 Registration page Item list (Policy set management)¶ Item
Description
Input required
Input method
Restrictions
Policy set name
Input a name for the Policy set.Policy sets can contain half-width alphanumeric charactesr and the following symbols: _ - (Underbar and hyphen).○
Manual
Maximum 255 bytes
Remarks
Free description field
ー
Manual
Maximum length 4000 bytes
Policy set-Policy link
- In the menu, users can maintain (view/register/update/delete discarded) links between Policy sets registered in "Policy Set management" and Policies registered in "Policy management".
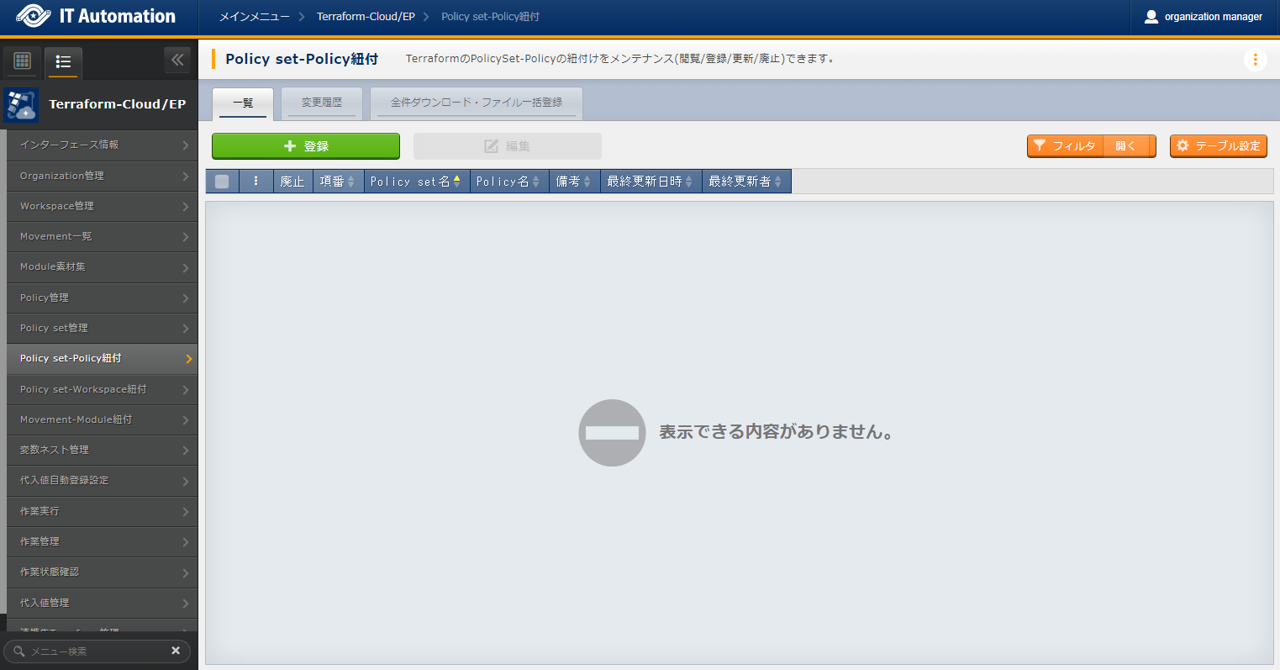
図 2.51 Submenu (Policy set-Policy link)
- Press the + Register button to register a Policy set-Policy link.
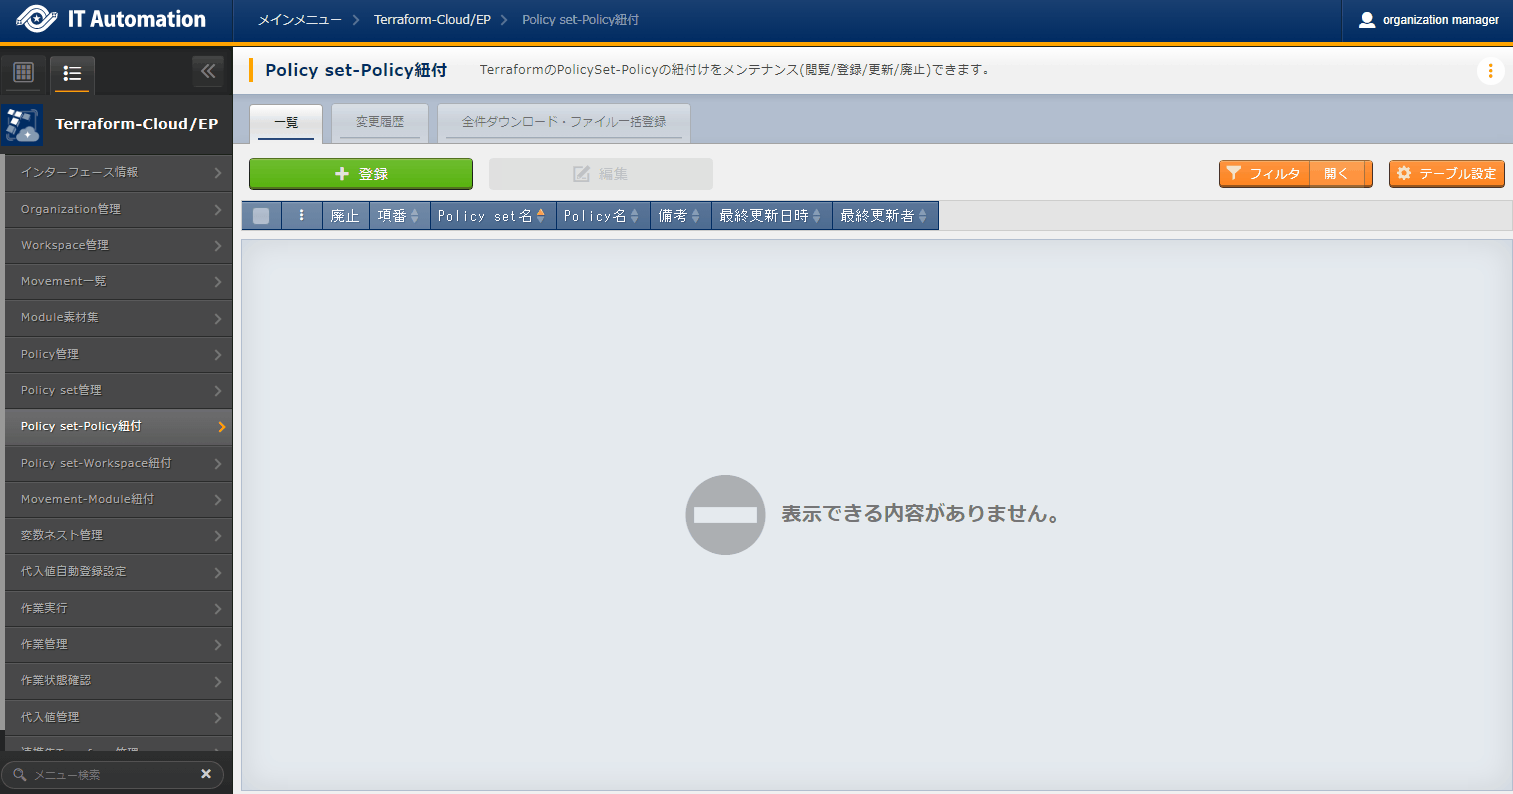
図 2.52 Registration page (Policy set-Policy link)
- The items found in the Policy set-Policy link menu are as following.
表 2.58 Registration page Item list (Policy set-Policy link)¶ Item
Description
Input required
Input method
Restrictions
Policy set name
Select a Policy set name registered in Policy Set management.○
List selection
ー
Policy name
Select a Policy name registered in Policy management.○
List selection
ー
Remarks
Free description field
ー
Manual
Maximum length 4000 bytes
PolicySet-Workspace list
- In the menu, users can maintain (view/register/update/delete discarded) links between Policy sets registered in "Policy Set management" and Workspaces registered in "Workspace management".
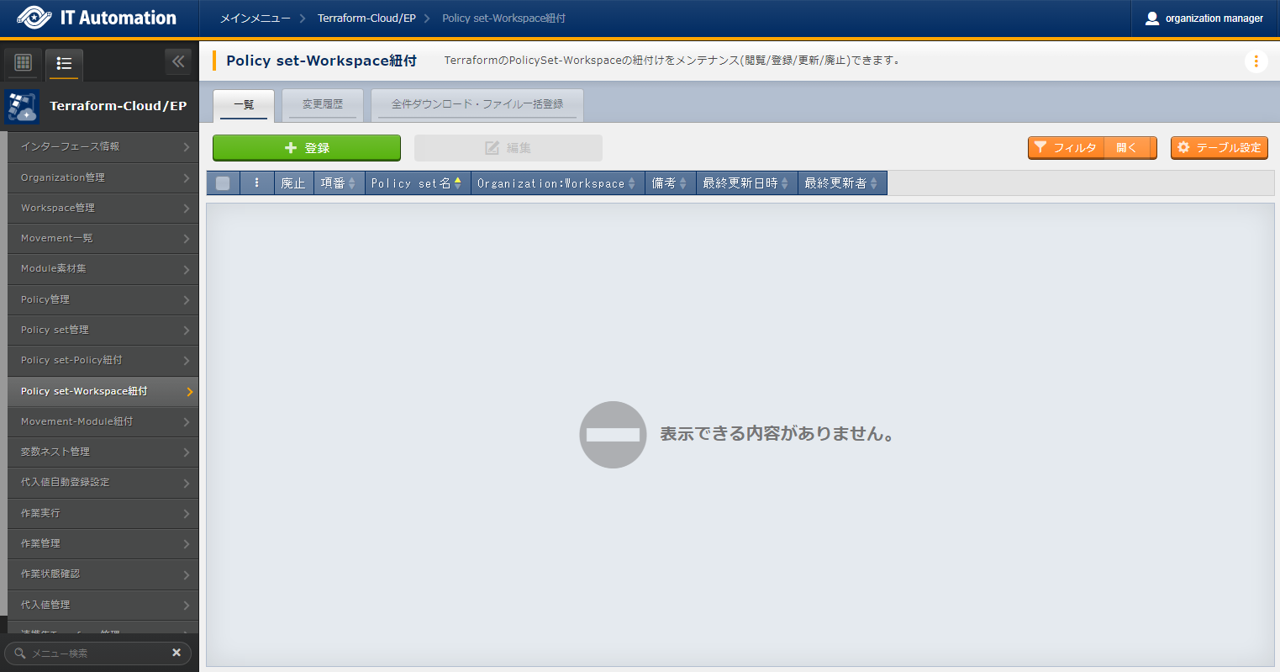
図 2.53 Submenu (Policy set-Workspace list)
- Press the + Register button to register a Policy set-Policy link.
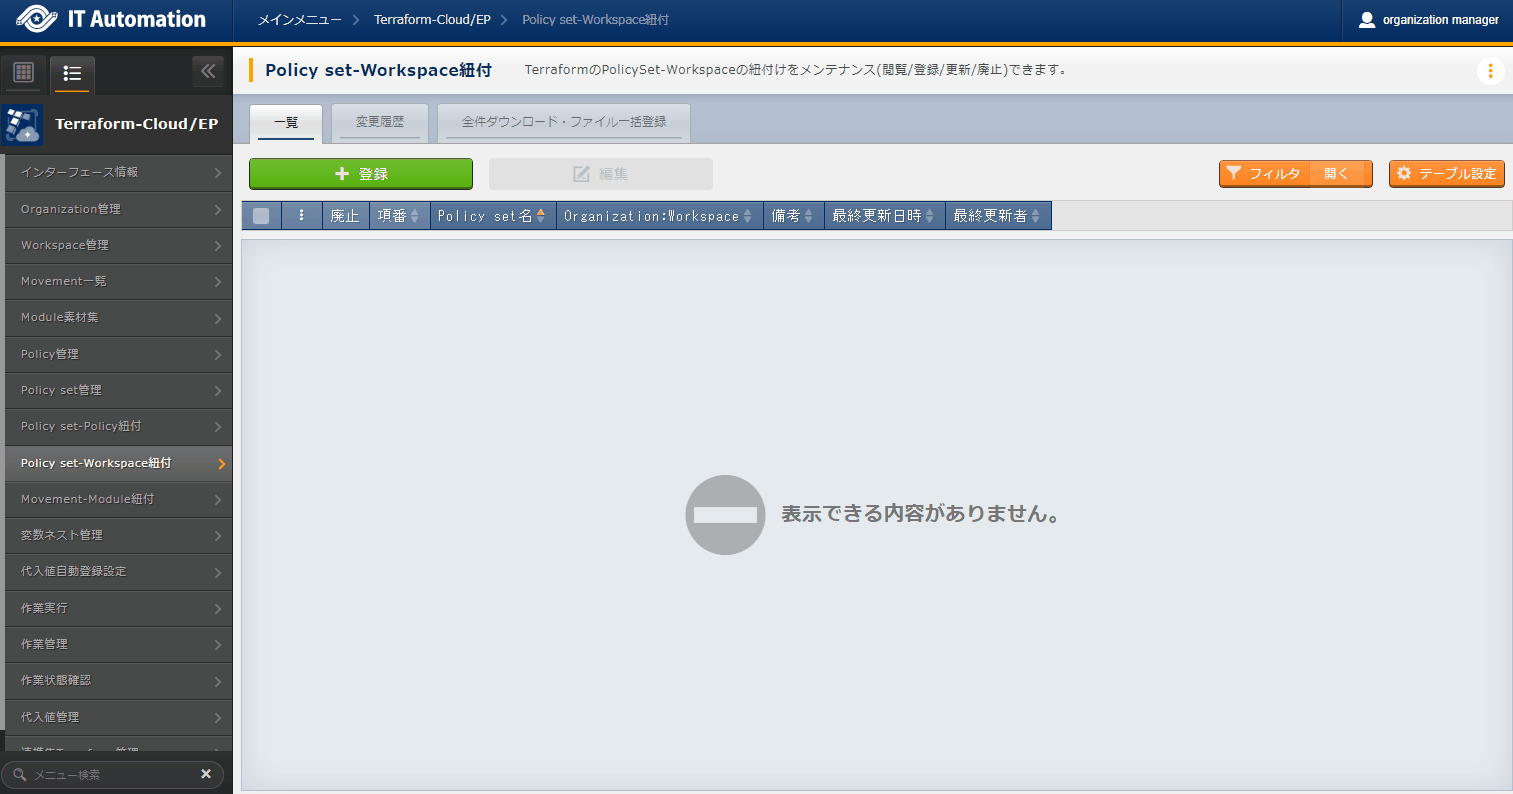
図 2.54 Registration page (Policy set-Workspace list)
- The items found in the Policy set-Workspace list menu are as following.
表 2.59 Registration page Item list (Policy set-Workspace list)¶ Item
Description
Input required
Input method
Restrictions
Policy set name
Select a Policy set name registered in Policy Set management.○
List selection
ー
Workspace name
Select a Workspace name (Linked to an Organization) registered in Workspace management.○
List selection
ー
Remarks
Free description field
ー
Manual
Maximum length 4000 bytes
Movement-Module link
- In the menu, users can maintain (view/register/edit/discard) links between Movements registered in Movement list and Module files registered in Movement-Module link.When executing Movements, the linked Module file will be appliedUsers can link multiple Module files to Movements.
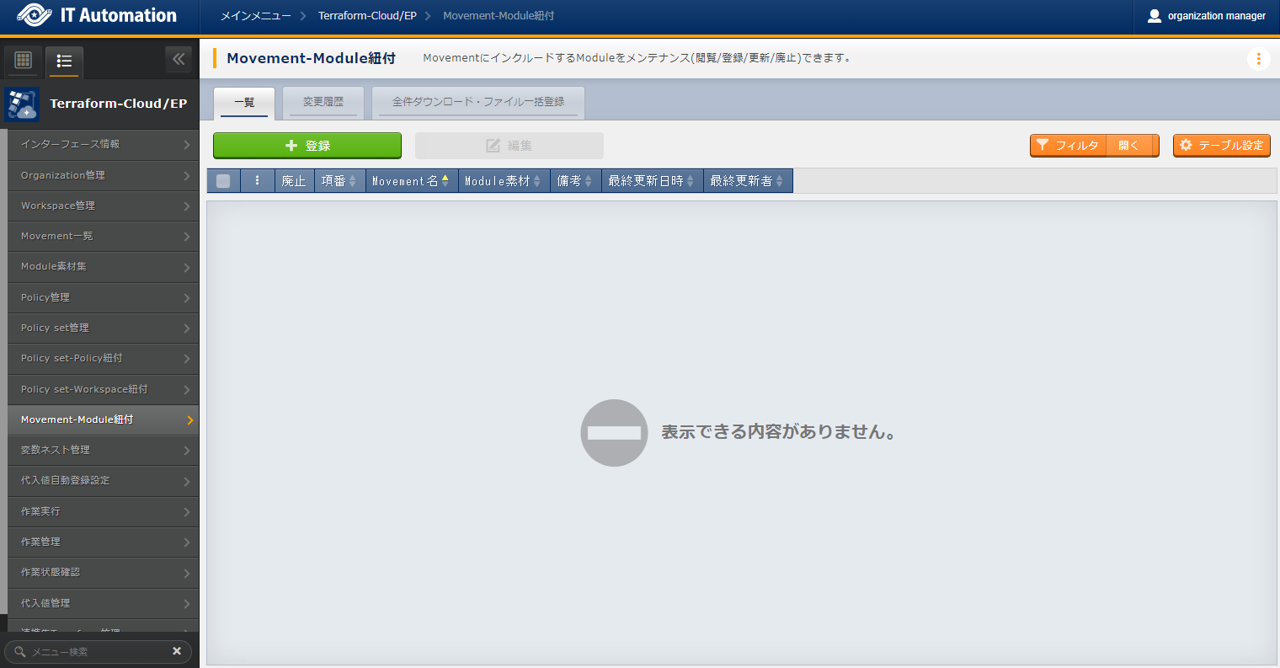
図 2.55 Submenu (Movement-Module link)
- Press the + Register button in order to register a link for the Movements and Modules.
)
図 2.56 Registration page (Movement-Module link)
- The items found in the Movement-Module link menu are as following.
Variable nest management
- In the menu, if the variable type defined in the tf file is "list" or "set" and the "list", "set," "tuple" or "object" is defined, the user can view and edit the Member variable's maximum number of cycles.The items in this menu cannot be registered, discarded or restored as BackYard manages the records based on the Module file collection.For more information with examples of Variable nest management, see "Variable nest management flow example".
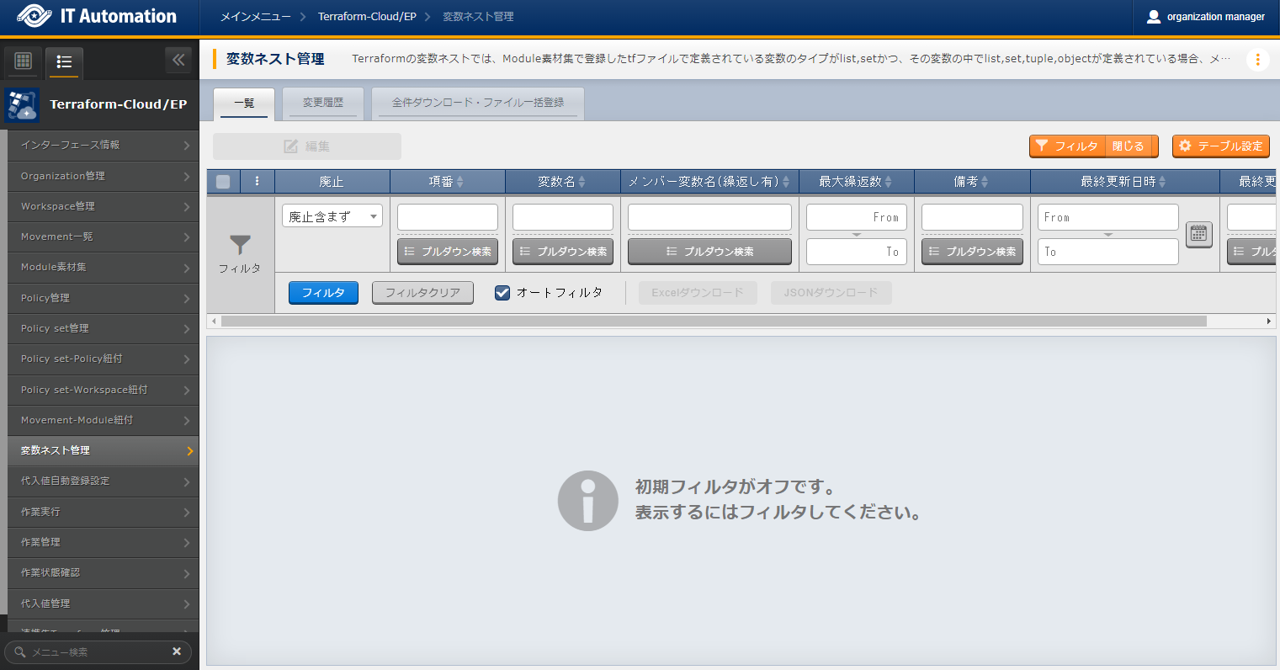
図 2.57 Submenu (Variable nest management)
- Press the + Edit button to edit the maximum cycle number.
)
図 2.58 Registration page (Variable nest management)
- The items found in the Variable nest management menu are as following.
警告
Substitute value auto registration settings
- In the menu, users can link parameter sheets (with operation) created with the Menu creation tool and Movement variables.The registered information is displayed in Susbtitute value management
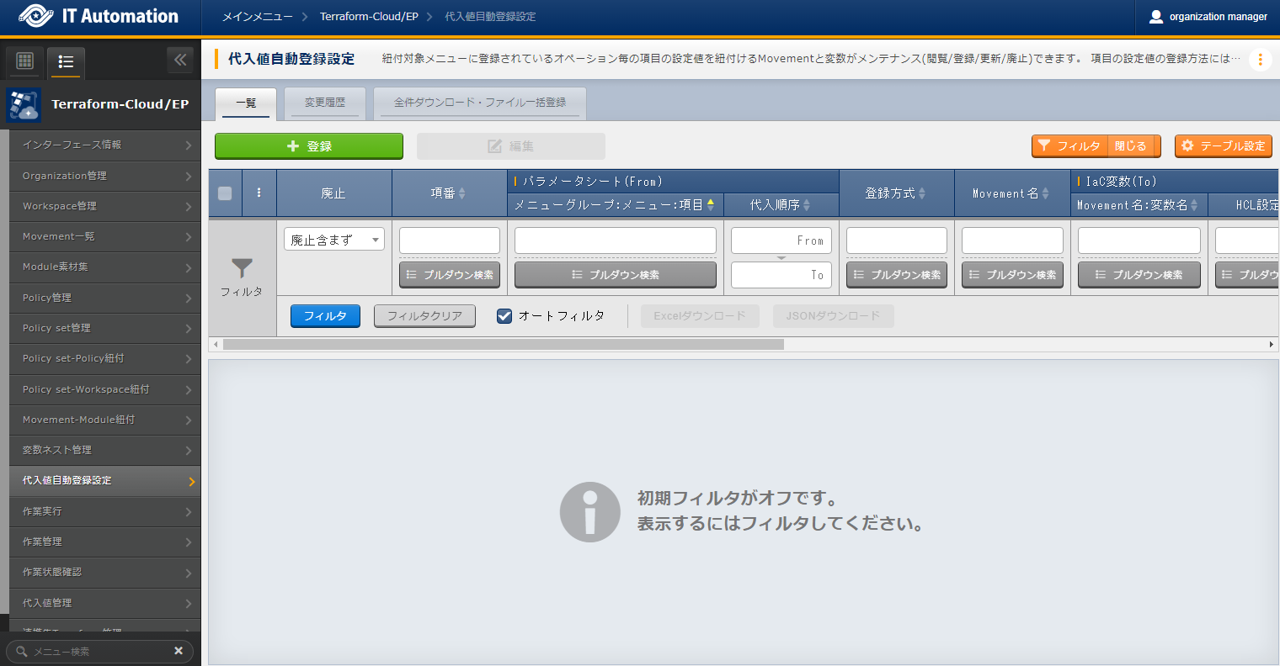
図 2.59 Submenu (Substitute value auto registration settings)
- Press the + Register button to register Substitute value auto registration settings.
)
図 2.60 Registration page (Substitute value auto registration settings)
- The items found in the Registration page are as following.
注釈
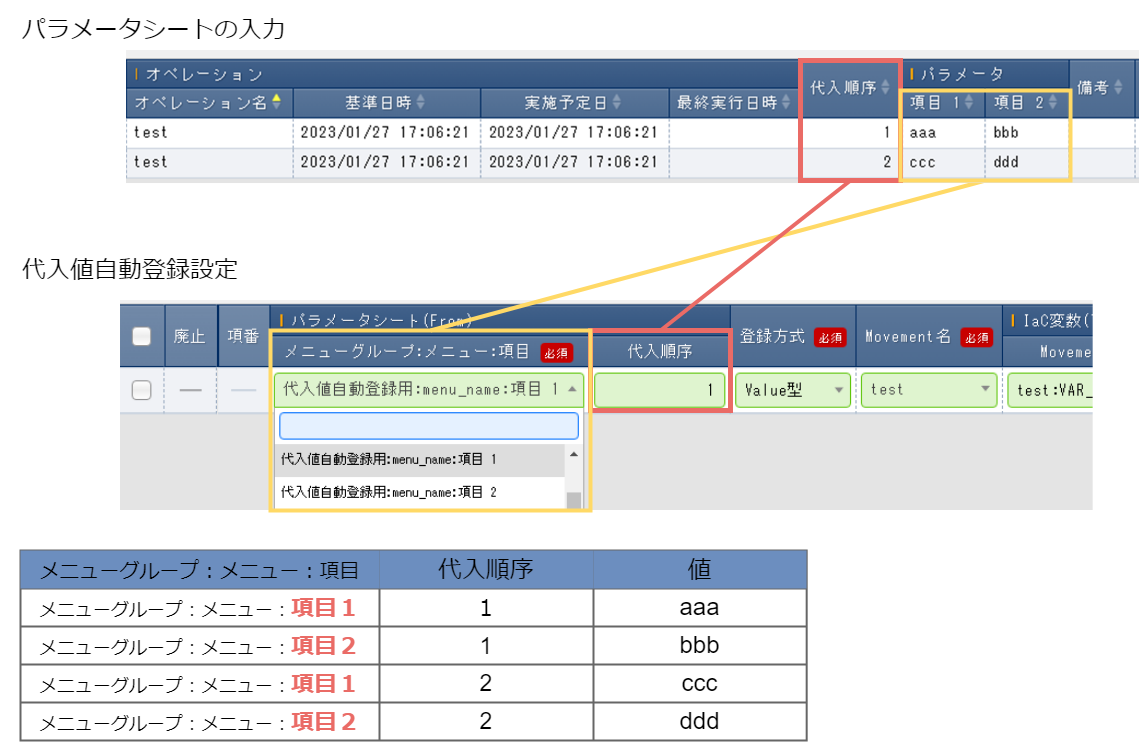
図 2.61 Register Substitute value auto registration settings when using Bundled parameter sheets.
注釈
注釈
Execute
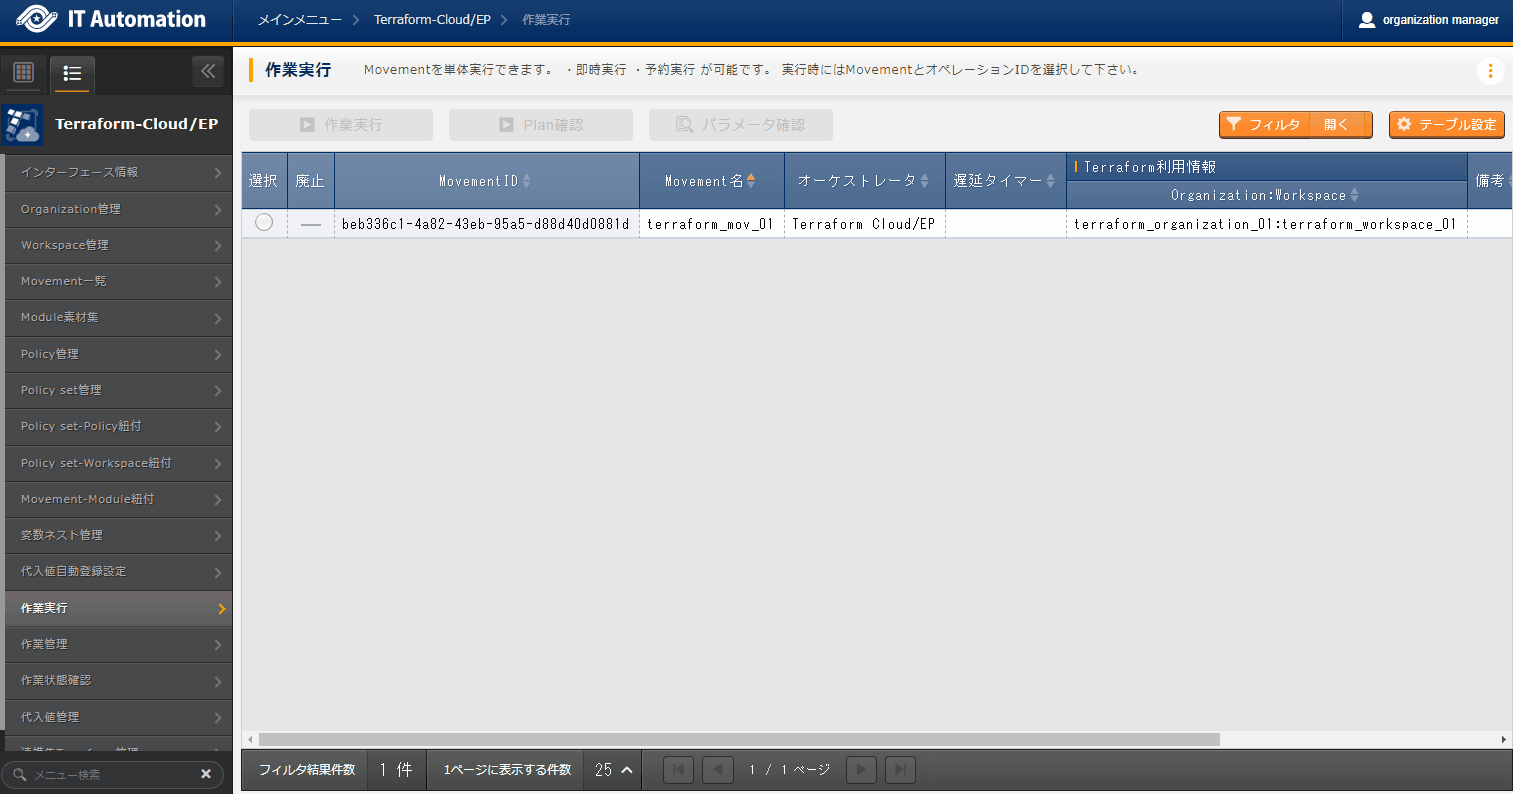
図 2.62 Submenu (Execute)
- Specify reservation dateBy inputting a "Reservation date", the user can book executions and plan checks.Only future dates can be specified.
- Specify MovementSelect a Movement registered in "Movement list".
- Specify OperationSelect an Operation registered in "Operation list".
- ExecutePress the Execute button to move to the "5.2.10 Execution status confirmation" menu where the execution processed will start.Terraform Apply will automatically be executed after Terraform Plan ends.
- Confirm PlanClick the "Check Plan" button operates similarly as the "Execute" button as it start the execution process. However, it will only execute, and not Terraform Apply.
- Confirm parametersClick the "Check parameters" button allows users to check the input parameter values. Neither Terraform Plan nor Terraform Apply will be executed.
Tip
variable "VAR_sample" { type = string default = "sample_string" } output "output_sample" { value = "${var.VAR_sample}" } |
{ "output_sample": { "sensitive": false, "type": "string", "value": "sample_string" } } |
Check operation status
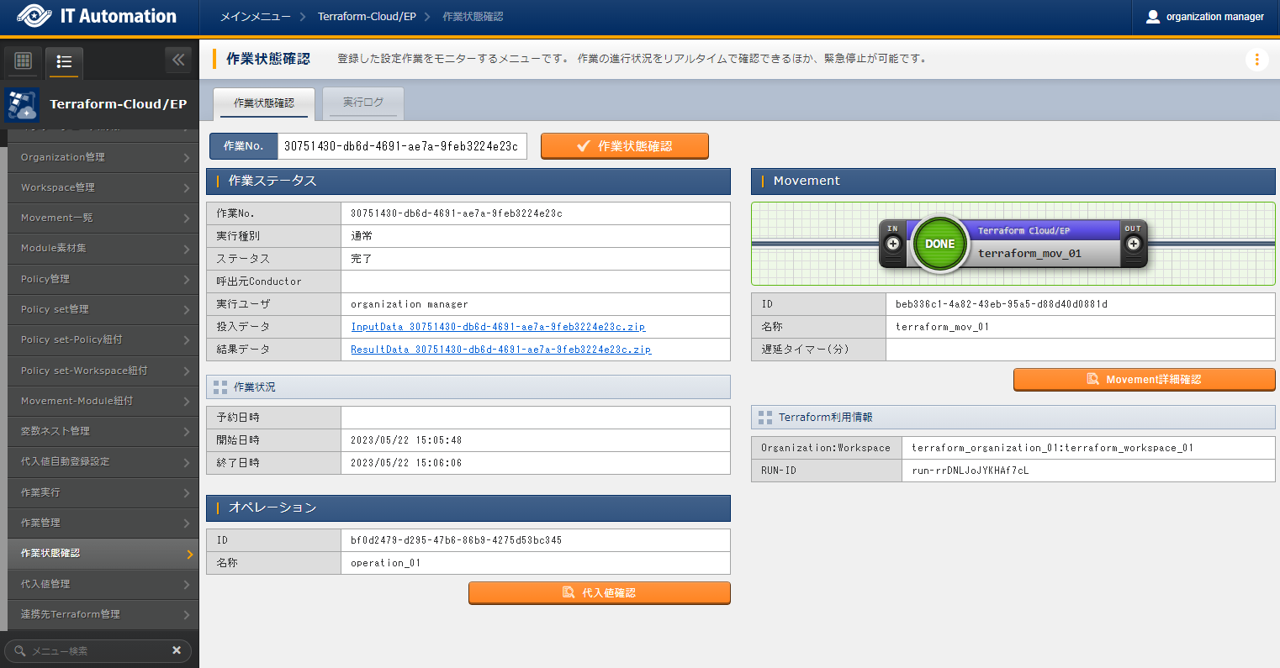
図 2.63 Submenu (Check operation status)
- Execution status displayThe status matching the Execution status is displayed.The execution log and error log also displays detailed information regarding the execution status.If the "Execution type" is set to "Check Plan", "Check Plan" will be displayed. If it is set to delete workspace resources (Executed from "Workspace management".), it will display "Delete resource". For everything else, "Standard".If the status ends in an unexpected error, and error log will be displayed in the message if there is something wrong with the registration in the "Interface information" or other web contents.For other errors, no message will be displayed in the error log. For those cases, the error information will be displayed in the application log."Call Conductor" displays which Conductor was executed. This field will be blank if directly executed from Terraform Cloud/EP driver."Execution user" displays the user that was logged in when the "Execute" button was pressed.The "RUN-ID" displayed in the "Terraform use information" is an ID used to manage executions from the Terraform side. It is used for the internal Terraform link process.※ If "Execution type" is set to "Delete resources", the following items will not be configured.
Called Conductor
Movement
Operation
Input data
- Check substitute valuePress the Check Susbtitute button to display "Susbtitute value management" where the Substitute values narrowed down to the target Operation and Movements are displayed.
- Emergency stop/Delete reservationUsers can press the Emergency stop button to stop the operation.If the status was "Reserved execution", the Delete reservation button will be displayed. Check the Delete reservation button to delete the reservation
- Display execution logThe log file names displayed in the execution log's pulldown menu are as following.plan.log: Terraform Plan execution logpolicyCheck.log: Terraform Policy Check execution logapply.log: Terraform Apply execution log
- Search logUsers can filter information to narrow down information in the execution log and the error log.Input the string the user wants to search for and tick the "Corresponding lines only" checkbox to view only the lines corresponding to the string.The refresh interval and maximum display lines can be configured by changing the "Status monitoring cycle item" and "Progress status display lines" items in the "Interface information" menu.
- Input dataUsers can download executed module files and a zip file containing a list of policy materials and the configured substitute values in Json format.The files are as following:
表 2.60 Input data storing file¶ Folder name
File name
Description
ー
(Input Module file name)Stores all input Module files within a zip file.ー
(Input Policy file name)Stores all Module files within a zip file.variables
variables.jsonFile that contains the configured substitute value's "Variable name(key)", "Specific value (value)", "HCL settings" and "Sensitive settings" settings value in JSON format.The specific values will be NULL if the Sensitive settings are set to ON (true). - Result dataUser can download execution logs, error logs, and state files generated by Terraform.The files are as following:
表 2.61 Result data storing file¶ Folder name
File name
Description
ー
plan.logLog file that contains the contents output to the progress log(plan.log).ー
policyCheck.logLog file that contains the contents output to the execution log(policyCheck.log).ー
apply.logLog file that contains the contents output to the progress log(apply.log).ー
error.logLog file that contains the contents output to the progress (apply.log).ー
sv-XXXXXX.tfstateState file generated by Terraform. The file name is also generated by Terraform, meaning that the name is different for every execution.The file is saved in an encoded state.
Execution management
- In the menu, the user can view execution histories.Specify search conditions and press the Filter button to view a table of executions.Pressing the Details button moves the user to Check operation status where they can view detailed information regarding the execution status.
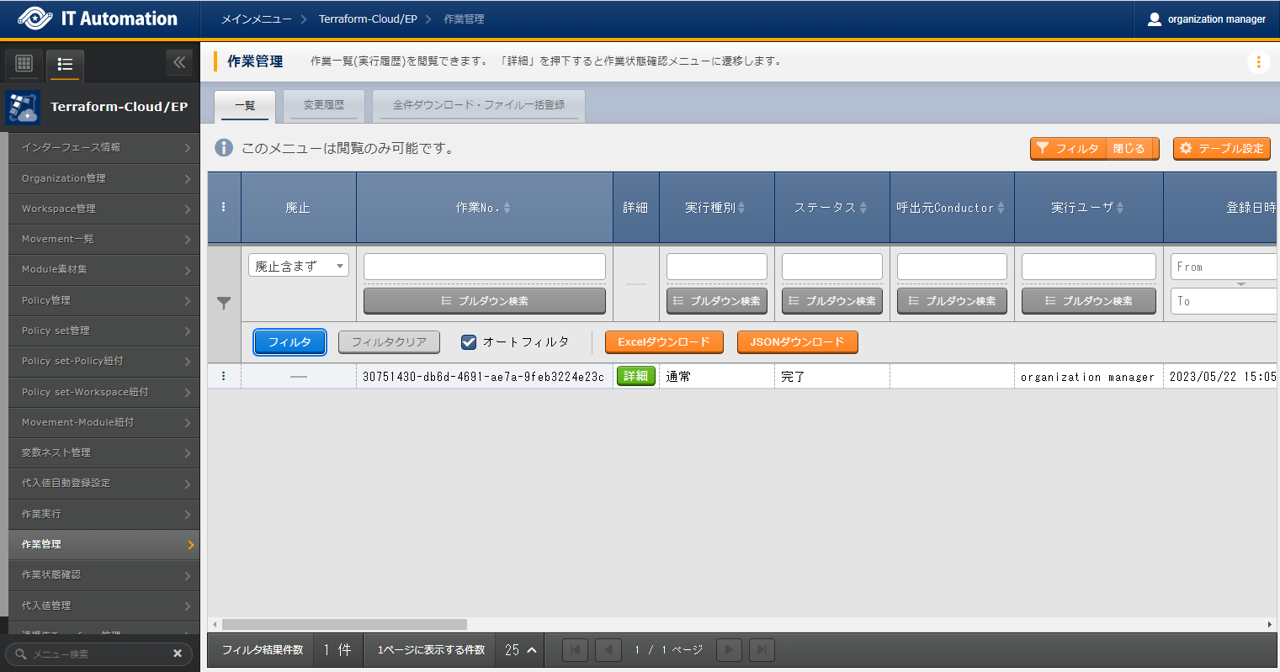
図 2.64 Submenu (Execution management)
- The items found in the Execution management menu are as following.
表 2.62 Item list (Execution management)¶ Item
Description
Execution No.
Displays an automatically given unique ID (36 characters)
Details
Press this button to move to the "Check operation status" menu where users can see more detailed information.
Execution type
Displays what type of execution was executed.
The following types exists: "Normal" "Plan check" "Parameter sheet check"
Status
Displays the status of the execution. The following exists:
"Not executed" "Not executed(Reserved)" "Preparing" "Executing" "Exe
cuting(Delayed)" "Complete" "Complete(Error)" "Unexpected error" "Emergency stop" "Reservation deleted".
Execution user
Displays the name that executed the operation.
Registration time
Displays the time when the operation was registered.
Movement
ID
Displays the ID of the Movement.
Name
Displays the name of the Movement.
Delay timer
Displays the delay timer value configured to the Movement.
Terraform use information
WorkspaceID
Displays the Terraform Workspace ID configured to the Movement.
Workspace Name
Displays the name of the Terraform Workspace configured to the Movement.
Operation
No.
Dispalys the Operation No.
Name
Displays the name of the Operation.
Input data
Allows users to download the input data in a Zip file.
Result data
Allows users to download the result data in a Zip file.
Execution status
Reservation date
Displays the reservation date if the execution is reserved.
Start date
Displays when the execution will start.
End date
Displays when the execution will end.
Remarks
Free description field
Susbtitute value management
- In the menu, userse can view the specific value that substitues the variables in the Module files used by the Movement linked to the Operaration.
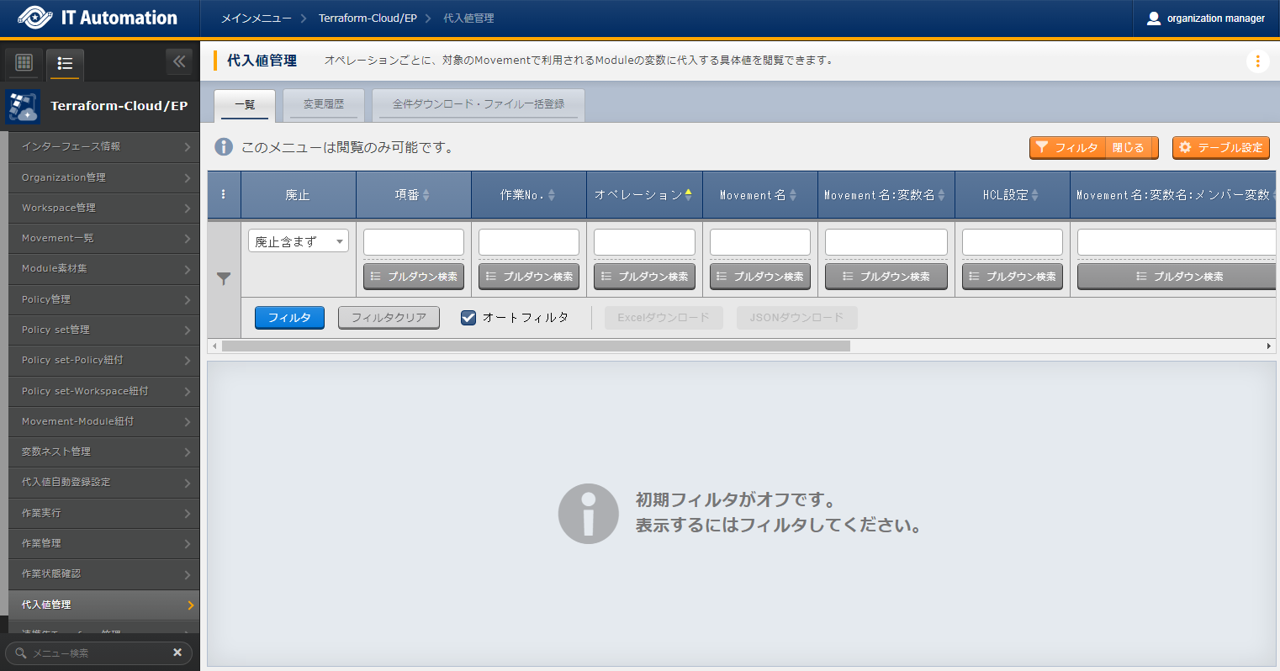
図 2.65 Submenu (Susbtitute value management)
- The items found in the Susbtitute value management menu are as following.
表 2.63 Item list (Susbtitute value management)¶ Item
Description
Execution No.
Displays an automatically given unique ID (36 characters).
Operation
Displays the selected Operation.
Movement name
Displays the selected Movement.
Movement name:Variable name
Displays the variable name attached to the Movement selected in ":ref:
terraform_cloud_ep_substitution_value_auto_registration_setting".
HCL settings
Displays whether the HCL settings configured in "Substitute value auto registration settings" are set to False or True. Variables with hierarchies containing member variables and substitute order are set to "True".
Movement name:Member name:Member variable
Displays the Member variable attached to the Movement selected in ":ref
:terraform_cloud_ep_substitution_value_auto_registration_setting".
Susbtitute order
Displays the substitute order of the Member variable or Variable name at
tached to the Movement selected in "Substitute value auto registration settings".
Specific value
Sensitive settings
Displays either "True" or "False".
If "True", the data will not be stored in the input data fetched from
Value
Displays the Specific value of the variable used by the Operation/Movement.
Remarks
Free description field
Link Terrraform management
- In the menu, users can use the information registered to the Interface information to connect to Terraform and view Organizations, Workspaces, Policies and Policy sets registered to said Terraform.Users can also delete targets registered to ITA from Terraform.Users can also delete managed and configured resources per Workspace.It is also possible to delete Links between Policy sets, Workspaces and Policies.※The actions performed on this page will have no effect on the registration targets on the ITA side.
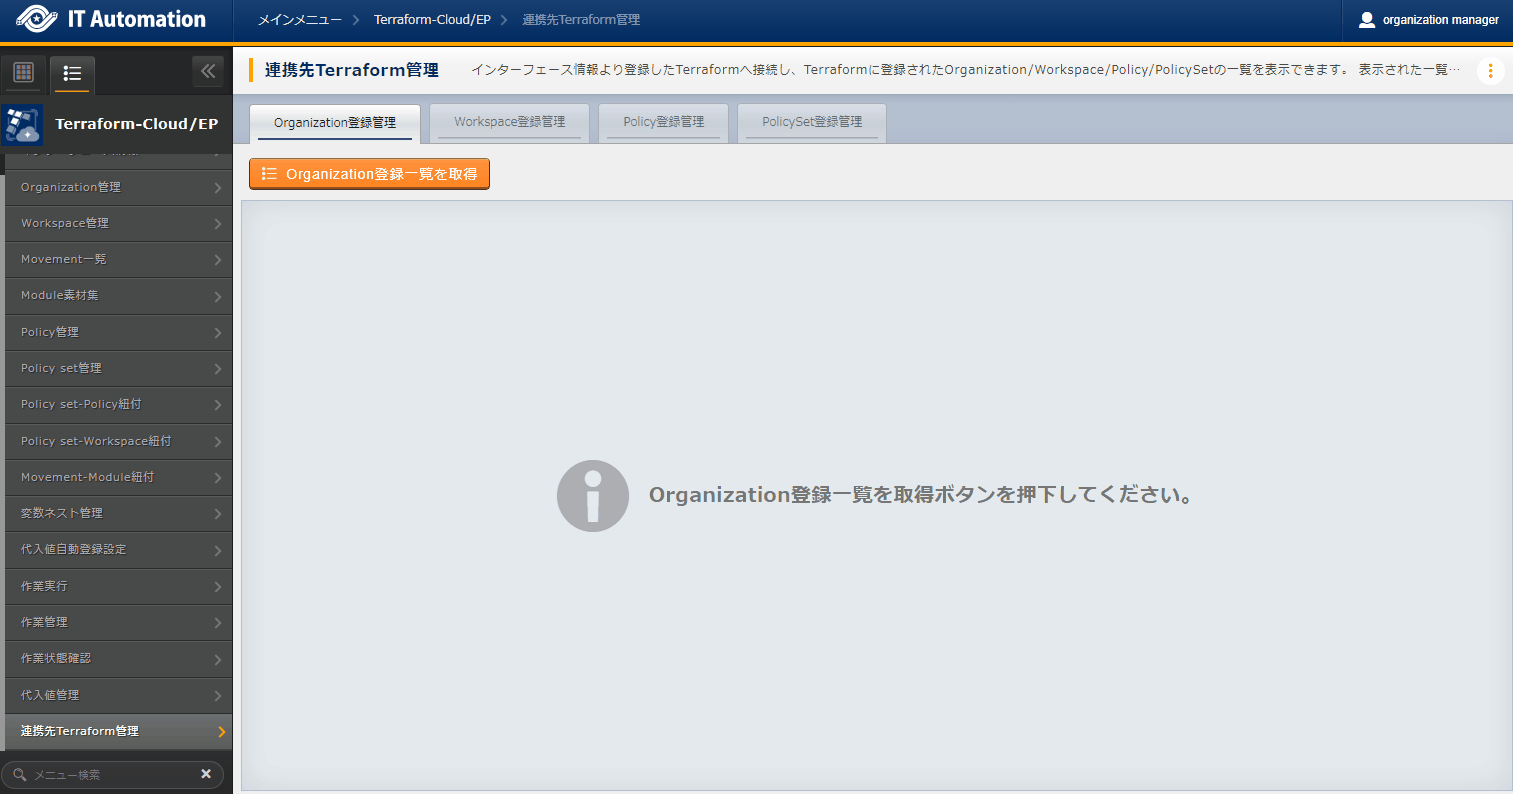
図 2.66 Submenu (Link Terraform management)
- The items list displayed in the fetched lists are as following.
表 2.64 Item list (Organization registration managenet)¶ Item
Description
Organization Name
Name of the Organization registered to Terraform.
Email address
E-mail address registered to the Organization.
ITA registration status
If the target Organization Name is registered to "Organization management", the status will display "Registered". If not, it will display "Not registered".
Delete
Clicking this button will display a dialog box asking if the user really wants to delete the data. Click "OK" to delete the Organization from the linked Terraform.※Deleted Organizations cannot be restored.表 2.65 Item list (Workspace registration management)¶ Item
Description
Organization Name
Name of Organization linked to the target Workspace.
Workspace Name
Name of the Workspace registered to Terraform.
ITA registration status
If the target Organization name is registered to "Workspace management", the status will display "Registered". If not, it will display "Not registered".
Delete resoruces
Clicking this button will display a dialog box asking if the user really wants to delete the data. Clicking OK will move the user to "Check operation status" where the Workspace resources will be deleted.。※Deleted resources cannot be restored.Delete
Clicking this button will display a dialog box asking if the user really wants to delete the data. Clicking OK will delete the Workspace link from Terraform.※Deleting the Workspace will make the user unable to dete the resources. Deleted Workspaces cannot be restored.表 2.66 Item list (Policy registration management)¶ Item
Description
Organization Name
Name of the Organization linked to the target Policy.
Policy Name
Name of Policy registered to the Terraform.
ITA registration status
If the target Policy Name is registered to "Policy management", the status will display "Registered". If not, it will display "Not registered".
Download Policy Code
Clicking this button will download the target Policy's Policy code.
Delete
Clicking this button will display a dialog box asking if the user really wants to delete the data. Clicking OK will delete the Policy from Terraform.※Deleted Policies cannot be restored.