
5. Notification management
5.1. Introduction
This document explains the Exastro system's Notification management function.
5.2. Registering Notification destination settings
The Notification management allows users to configure settings required in order to recieve Event notifications from ITA Automation and OASE.
5.2.1. Registering Notification destination settings procedure.
Follow the steps below in order to register Notification destination settings.
- Log in to the Exastro system as the Organization administrator.
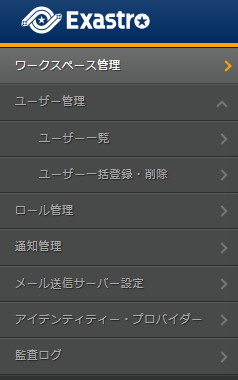
- From the menu, click .
注釈
OASE functionFor more information regarding the OASE function, see OASE common. - Doing so will display the page. Select the desired workspace or click Notification destination settings.

注釈
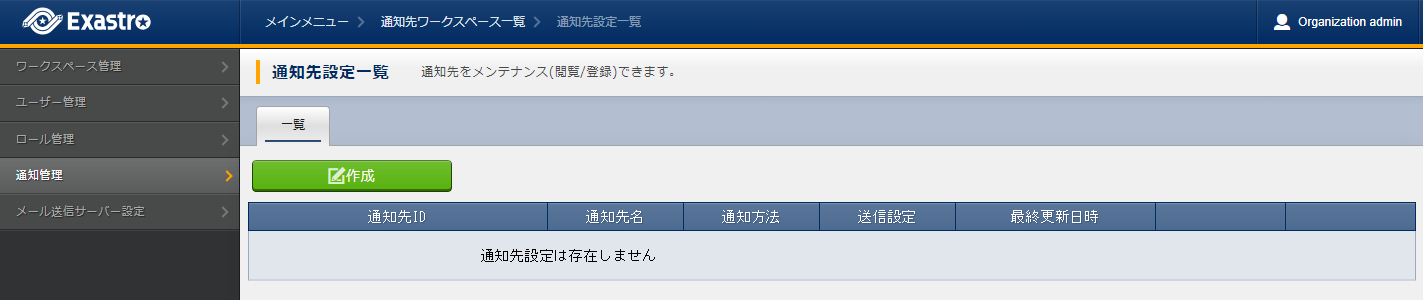
Only workspaces the user has access to will be displayed. - This will display the page. Click Create.

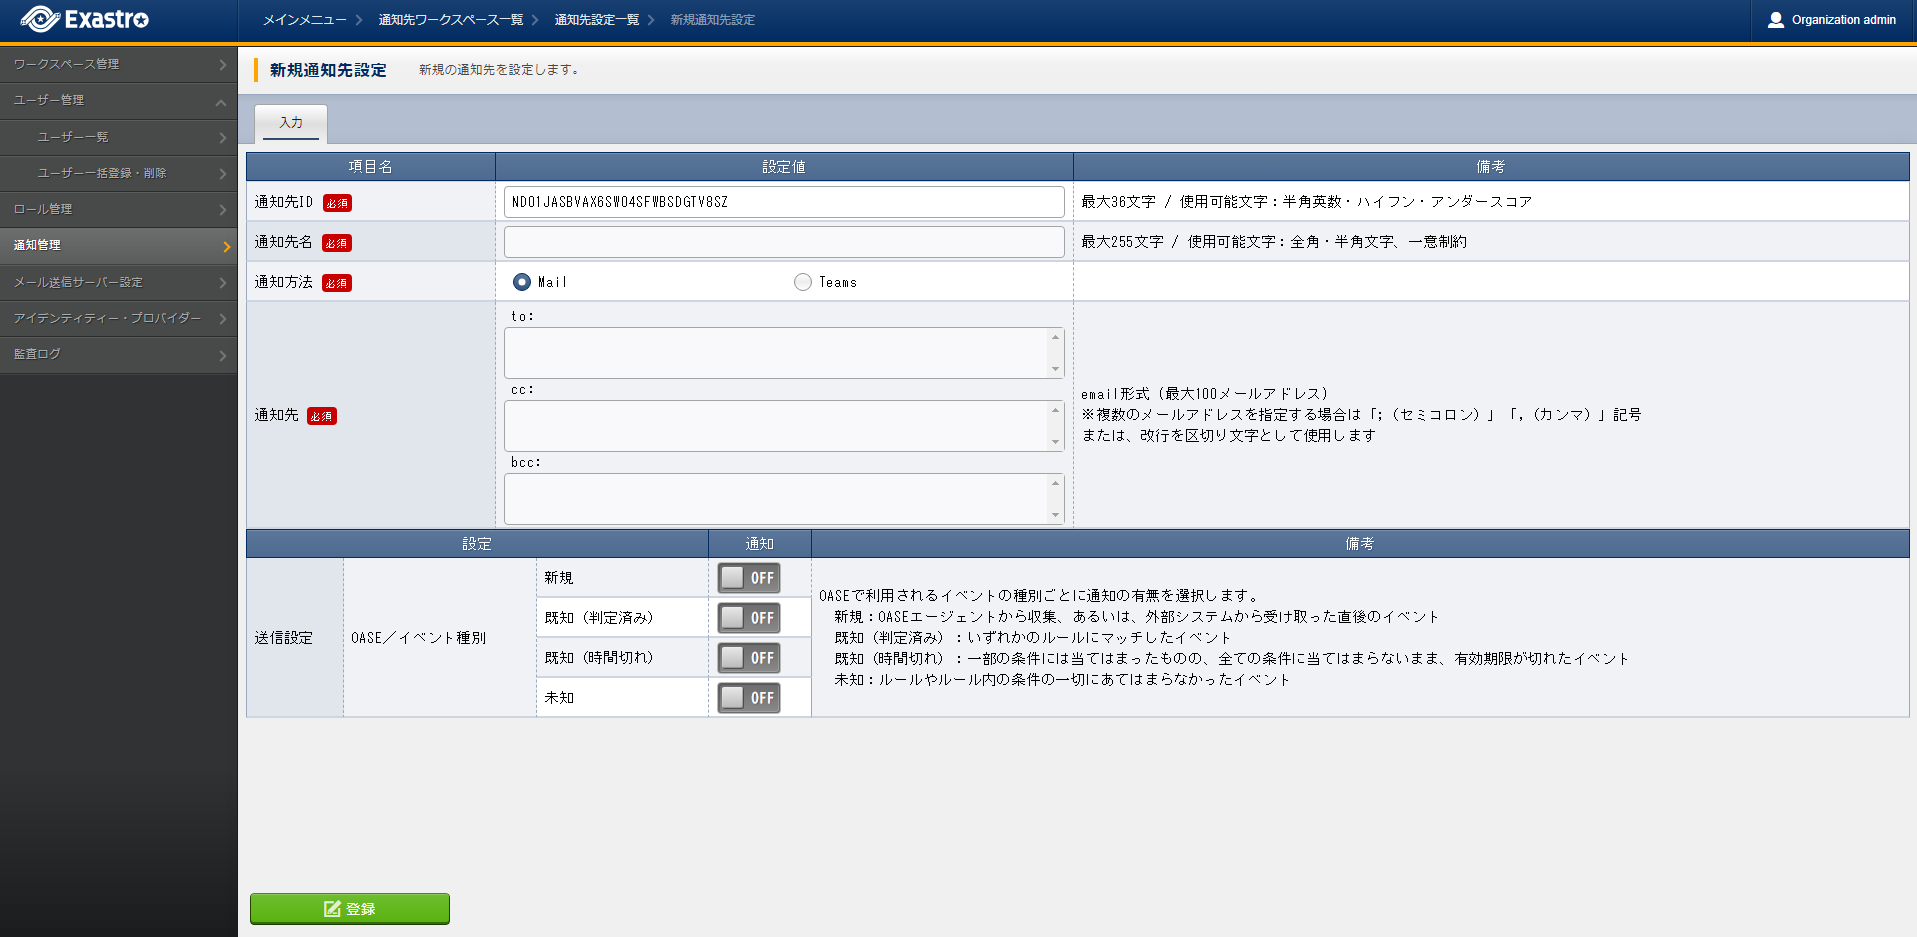
- This will display the page. Input the notification destination's information and click Register.
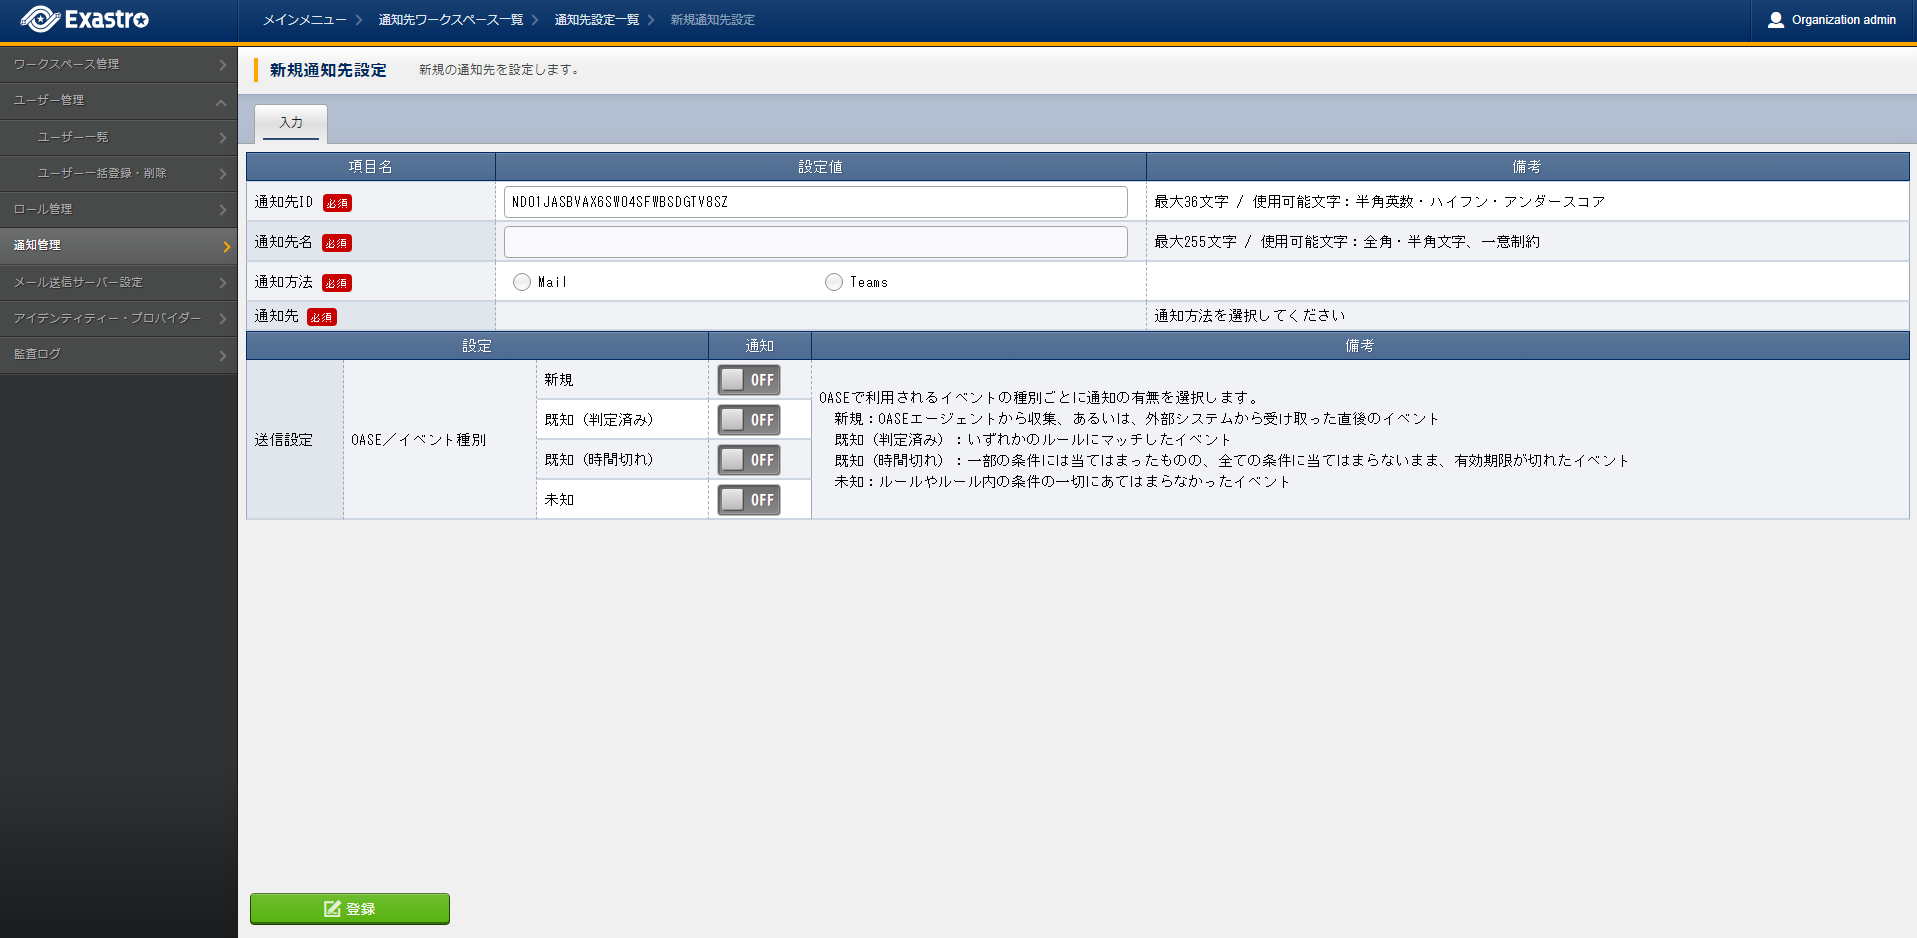
表 5.22 Registering New notification destination settings¶ Item name
Description
Notification destination ID
Specify an unique ID that will be given to the Notification destination.The ID specified here will be used to link the systems.An ID will be automatically applied by default.Notification destination name
Specify a name for the Notification destination.Notification method
Specify a method for how the notification will be sent.Notification destination
The settings changes depending on the specified Notification method.Input either an E-mail or an URL.


5.2.2. Confirming Notification destination settings details
Follow the steps below in order to see more detailed Notification destination settings.
- Log in to the Exastro system as the Organization administrator.
- From the menu, click .
- Doing so will display the page. Select the workspace where the user wants to confirm the Notification destination settings details or click Notification destination settings.
Tip
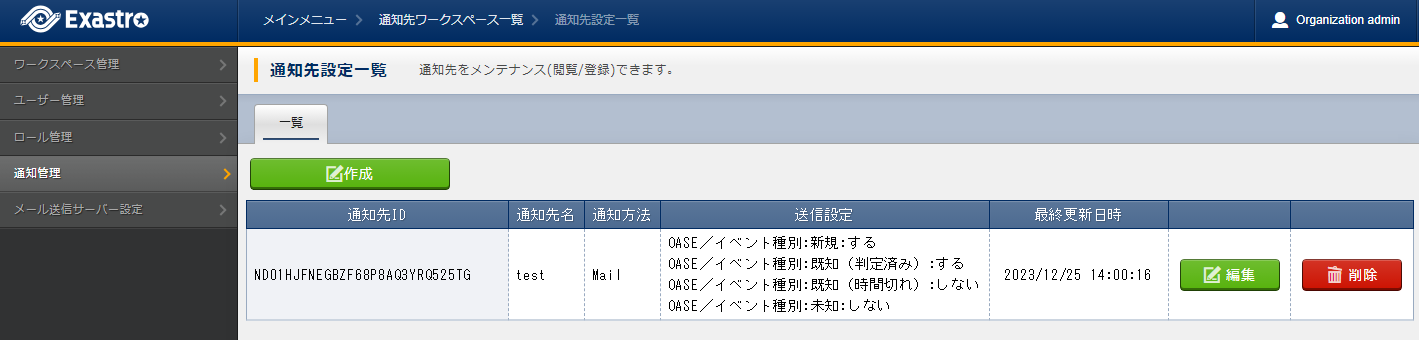
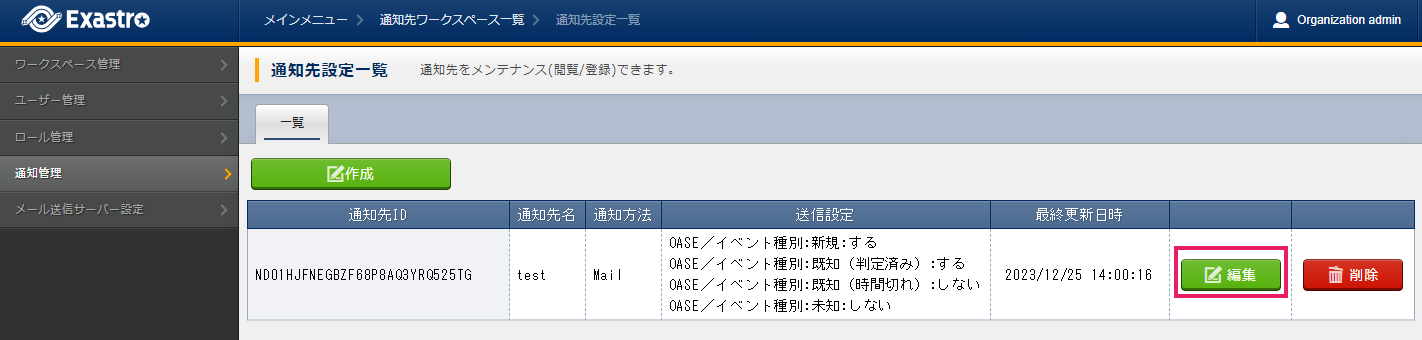
Only workspaces the user has access to will be displayed. - This will display the page. Select the desired notification settings.

- This will display the page.In this menu, users can confirm the settings, edit, delete and test the notifications.

Tip
Notification testsThe user can test notifications by pressing the Test notification button.After pressing the Test notification button, a confirmation window will be displayed. After having confirmed the message, a message will be sent to the specified Notification destination.The title and body of the sent message will be "notification test".
5.2.3. Edit Notification destiantion settings
Follow the steps below in order to edit Notification destination settings.
- Log in to the Exastro system as the Organization administrator.
- From the menu, click .
- Doing so will display the page. Select the desired workspace or click Notification destination settings.
注釈
Only workspaces the user has access to will be displayed. - This will display the page. Click Edit.
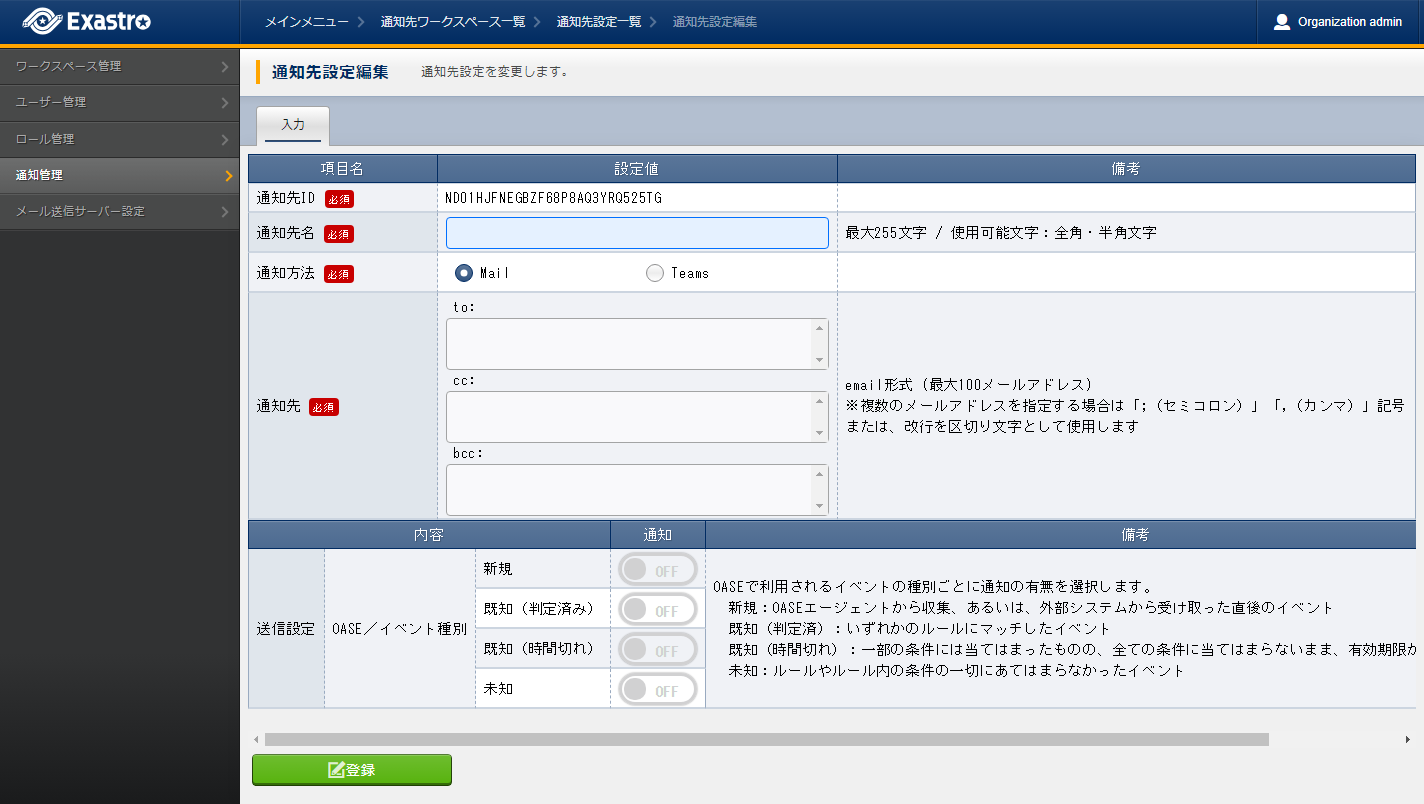
- This will display the page. Edit the desired contents and click Register.

表 5.23 Edit Notification destination settings¶ Item name
Description
Notification destination ID
The Notification destination ID cannot be changed.Notification destination name
Specify a name for the Notification destination.Notification method
Specify Notification method.Notification destination
The settings changes depending on the specified Notification method.Input either an E-mail or an URL.

5.2.4. Delete Notification destination settings
- Log in to the Exastro system as the Organization administrator.
- From the menu, click .
- Doing so will display the page. Select the desired workspace or click Notification destination settings.
注釈
Only workspaces the user has access to will be displayed. - This will display the page. Click Delete.
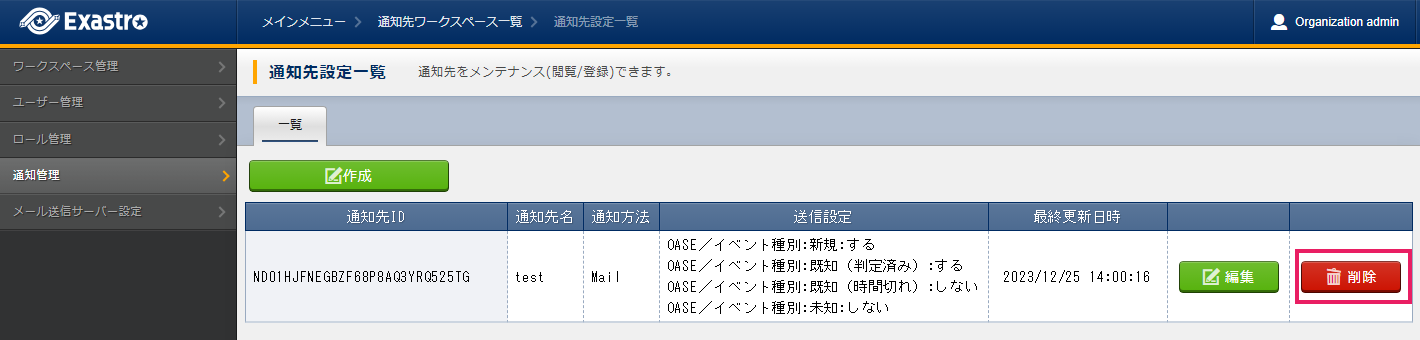
- This will cause a confirmation message to be displayed. Input the Workspace ID/Notification destination ID and click Yes, delete.
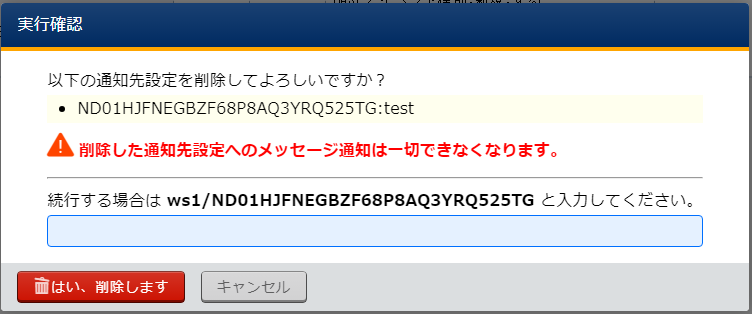
Tip
It is not possible to restore Notification destination settings once deleted.

